User guide
Everything in Fretling, page by page. Start with the anatomy of the screen and the quick start, or jump straight to a section.
Where to find things
What it does
- Learn scales, diatonic chords, and triads in any key, with CAGED shapes, position boxes, and three-notes-per-string patterns laid over the neck — and browse every chord in the Chord Atlas, which names borrowed harmony and secondary dominants on sight.
- Identify a chord by tapping notes onto the neck, or by playing it into the mic — Fretling ranks the readings.
- Hear anything you see: tap-to-play notes, one-tap scale and chord playback, and real instruments — a sampled grand piano, modeled nylon, steel, jazz and clean electric guitars, or a sine wave; chords through up to three layered voices.
- Practice with a chromatic tuner and its Precision mode, a metronome with a 61-beat drum library and a step sequencer, a Neural Amp Modeler amp, and a looper.
Most of that is free for good. The drum library, the amp, the looper, Live Detect, the tuner's Precision mode and the seven advanced scales come with the one-time Fretling Pro unlock, and are marked Pro throughout this guide — with a 14-day free trial if you want to try them first.
Anatomy of the screen
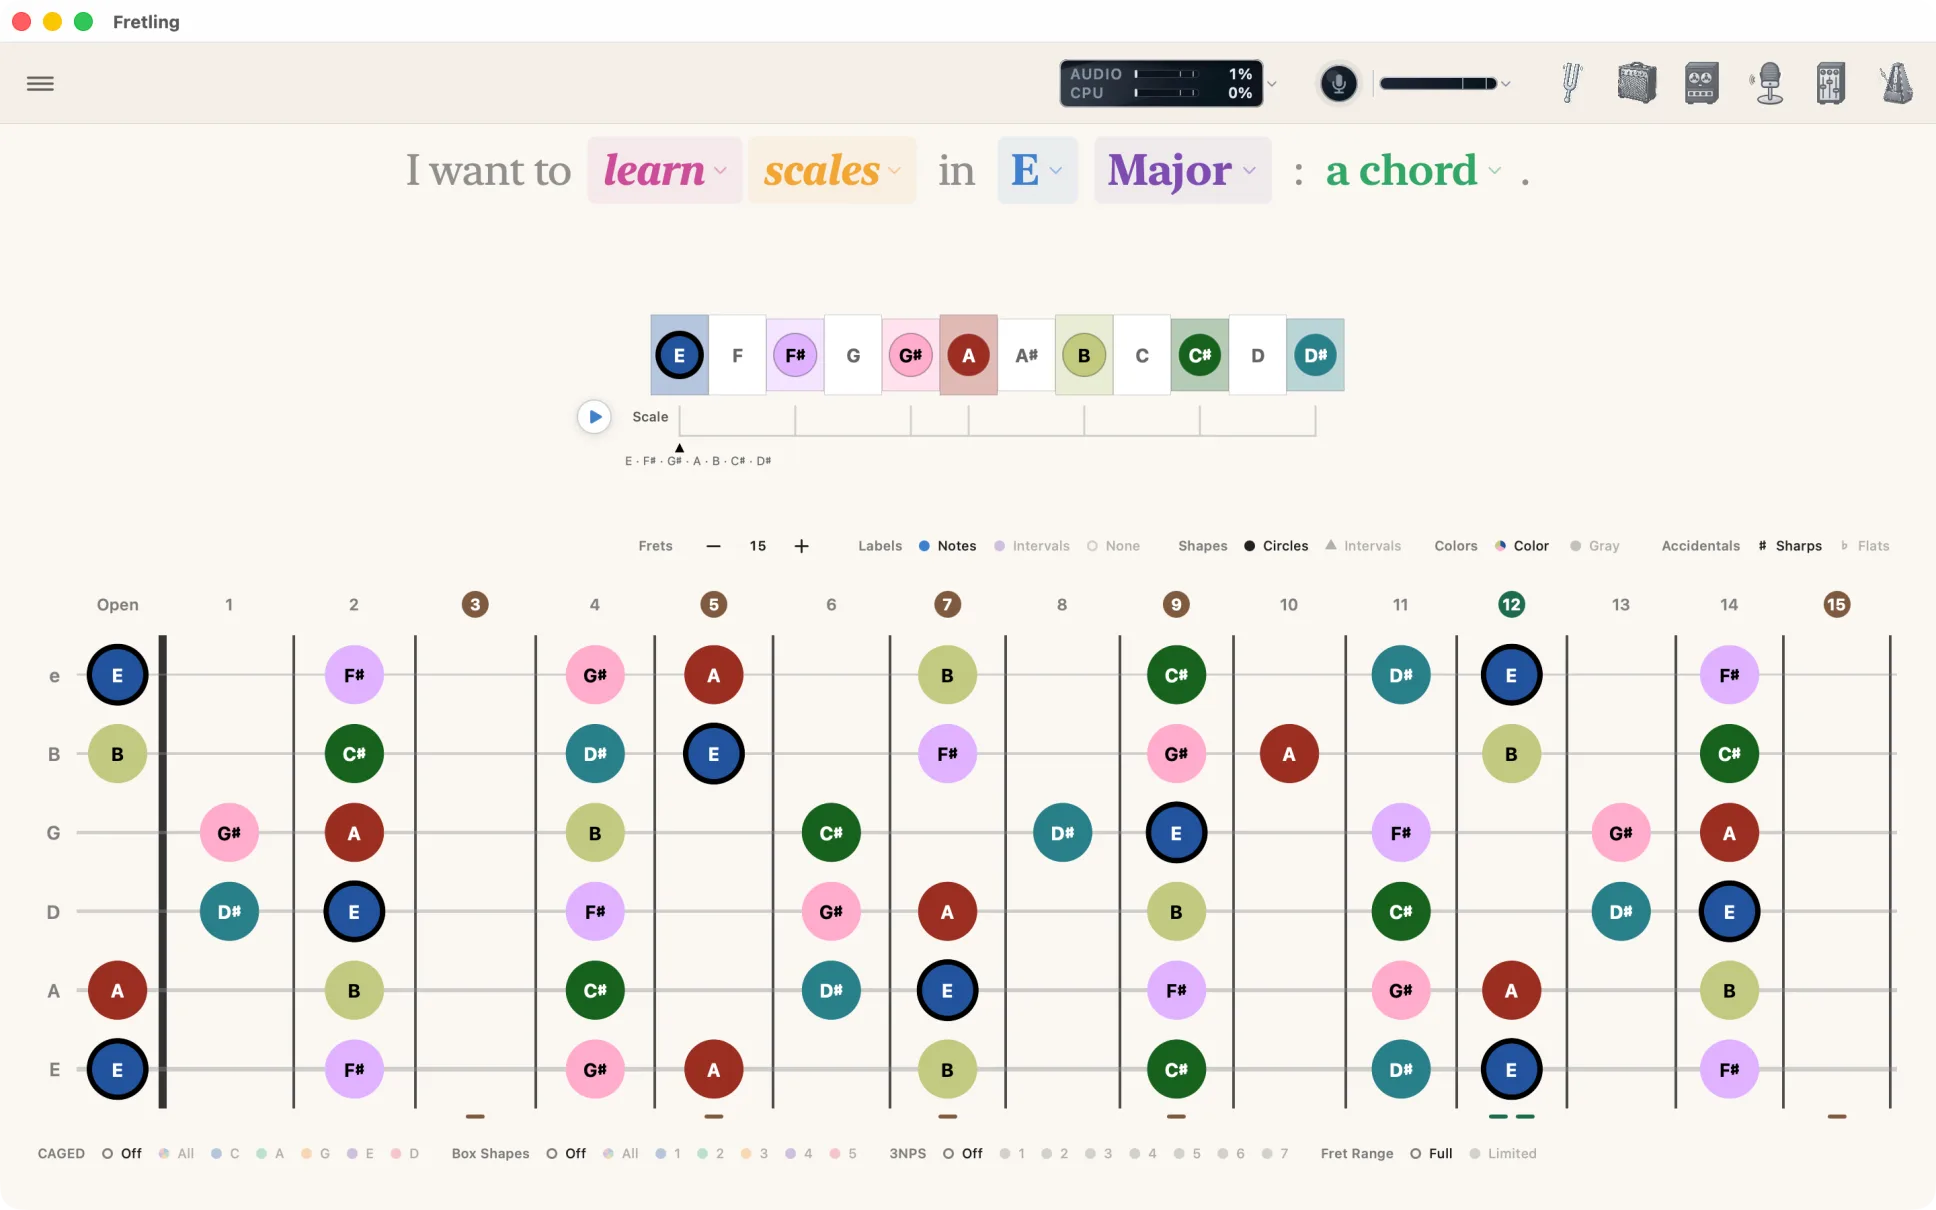
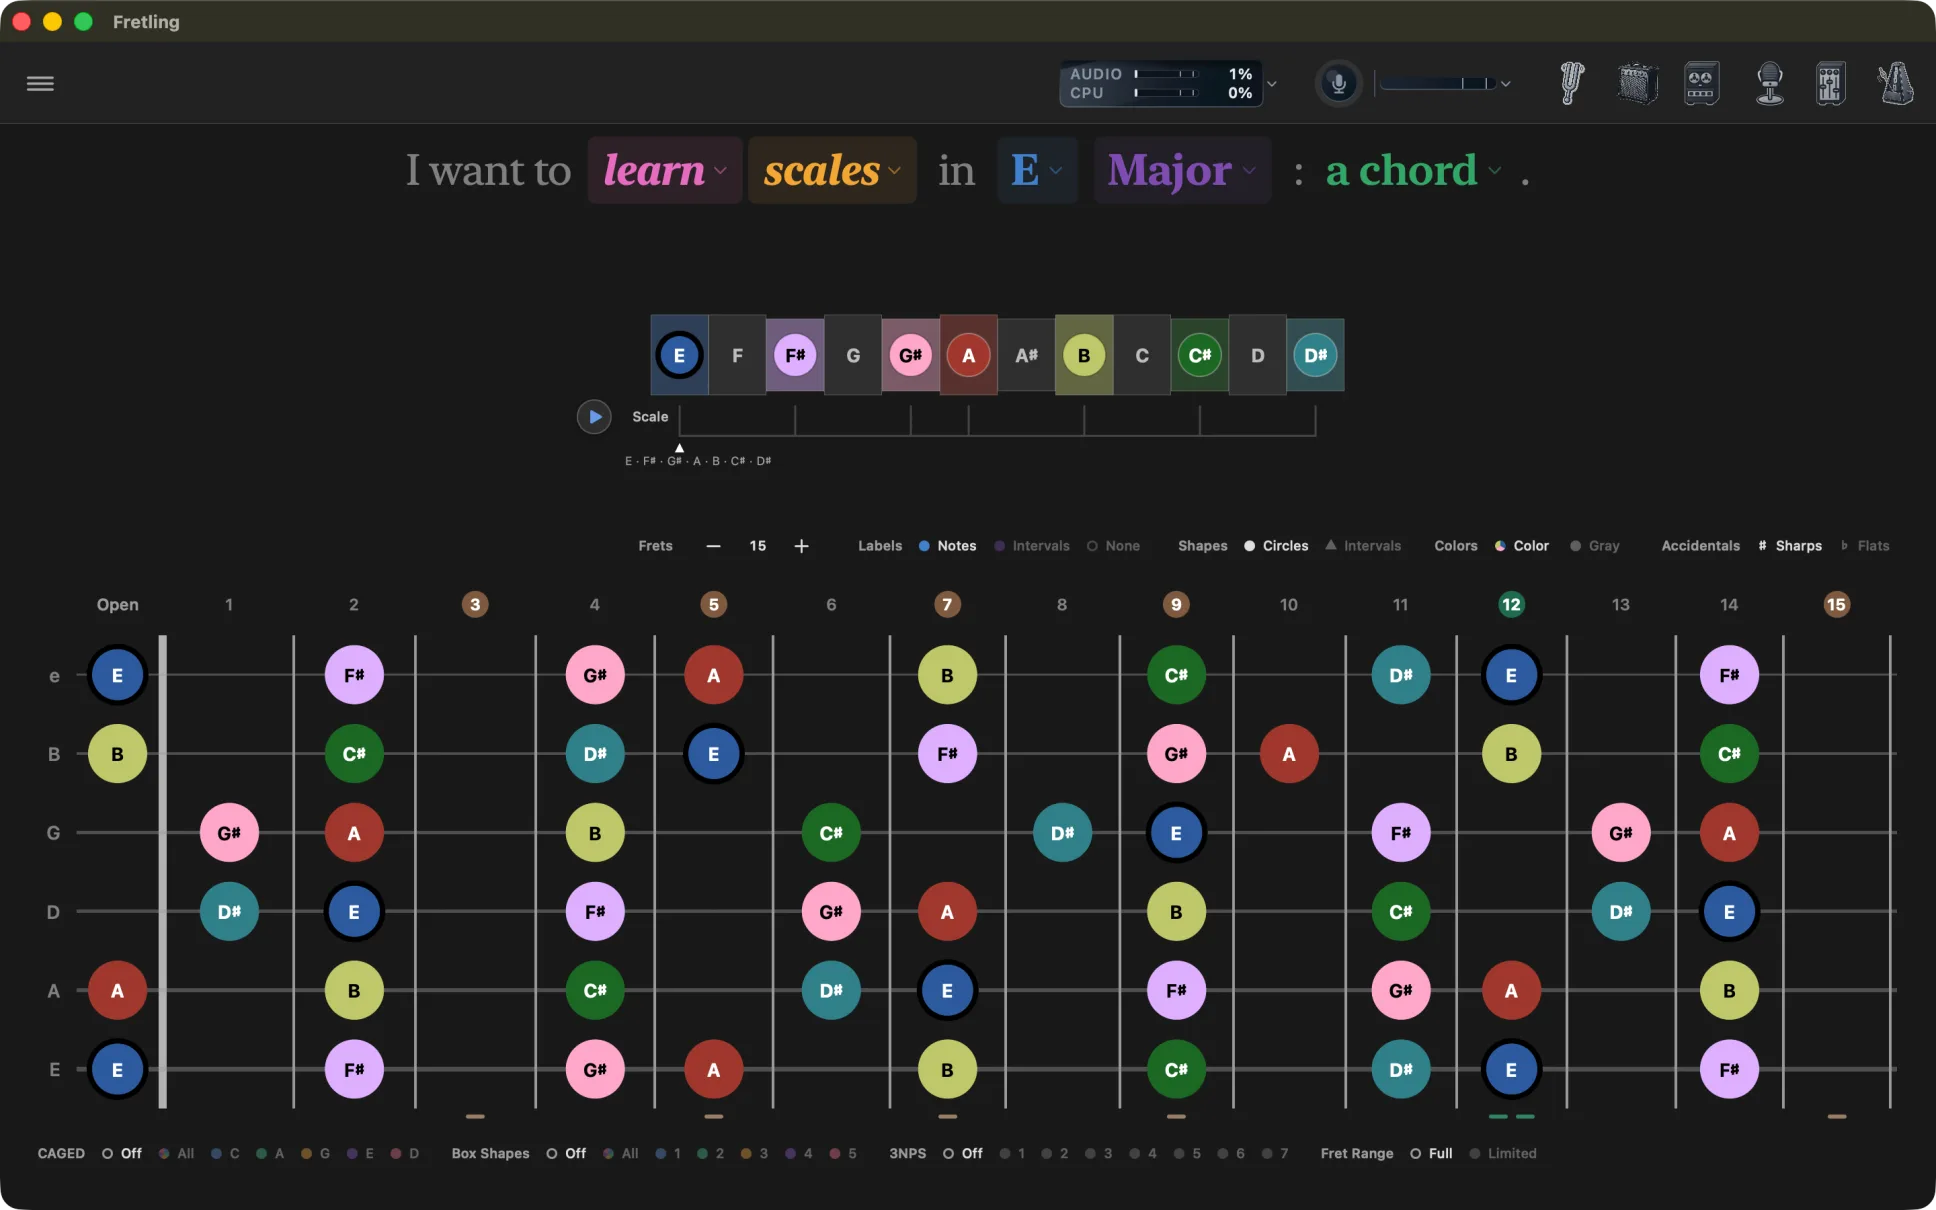
Everything sits around one stable fretboard. A fixed bar of app controls runs across the top, two chip bars bracket the neck, and the practice tools open as floating panels that you can drag out of the way.
| Where | What sits there |
|---|---|
| The top bar | One band across the top of the canvas. The Settings button sits at the leading end and slides the sidebar in; the performance readout and the microphone lamp and meter come next; the six practice tool icons — tuner, amp, looper, Live Detect, mixer, metronome — sit at the trailing end. Each opens a floating panel that can be dragged, minimized to a one-row strip, or closed. See Practice Tools. |
| Above the neck | The sentence you build, an optional scale timeline, then the marker display bar — Frets, Labels, Shapes, Colors, Accidentals. |
| The neck | Six strings, 12 to 22 frets (fifteen by default), every scale or chord tone drawn as a marker. Tap one to hear it. |
| Below the neck | Visual Groupings: CAGED, Box Shapes, chord shapes, three-notes-per-string, string sets in Triads, and the Non-Chord Notes and Fret Range switches. |


Quick start
- Read the sentence at the top and tap any colored word to change it: the verb (learn or identify), the mode (scales, chords, triads), the root note, and the scale type.
- Tap notes on the neck to hear them. The instrument comes from Settings → Audio.
- Use the Labels / Shapes / Colors / Accidentals chips above the neck to switch between note names and interval numbers.
- Use the Visual Groupings chips below the neck to lay CAGED shapes, position boxes, chord shapes, or 3NPS patterns over what you are seeing.
- Open the tools you need from the icon row at the right of the top bar — they float over the fretboard and can be dragged out of the way, or minimized to a one-row strip that keeps their main control live.
On a first run a single tip sits above the neck, saying what to do next: Tap any note on the neck to hear it. on the canvas, and Tap the neck to place notes; tap again to remove. once you switch to identify. Each is dismissed with Got it and does not come back.


Keyboard shortcuts and gestures
Keys are macOS unless a row says otherwise. Gestures work on both platforms — a double-click on the Mac is a double-tap on iPad.
| Key or gesture | What it does |
|---|---|
| Space | One transport. If anything is rolling it stops — the click, the loop, or both. If nothing is, it starts the click, and a loop that is loaded and stopped starts with it, so one press gives you a beat and your backing at the same downbeat. Inside the drum sequencer sheet it is the click alone, because the looper is not on screen to see. |
| Shift-Space | The timeline's transport: the chord if one is up, otherwise the scale. |
| ⌘⇧M | Turn the microphone on or off. Also in the Input menu, and on iPad through the microphone lamp in the top bar. |
| Double-click a panel header | Folds the panel to its one-row strip, or unfolds it again. |
| Double-click a slider | Resets it to its default. |
| Drag a panel header | Moves the panel. Each one remembers where you left it; every header also carries a Reset position action for VoiceOver. |
| Right-click a sequencer cell | Sets that hit's level: Full, 75%, 50%, 25% or Off. |
| Right-click or press and hold a lane name | Fill Row, Accent Beats, or Clear Row for that drum lane. |
| Drag the fret window | Drag either tab, or the numbers between them, to slide the window along the neck. Double-tap a tab to open the window out to that end of the board. |
| Press and hold a note | Sustains it until you let go; a quick tap still rings for at least a second and a half. Sliding off a note stops it at once, the way lifting a fretting finger does. On iPad you can hold several notes at once and slide along a string. |
| Pointer (Mac) | The pointer turns to a hand over anything live, and hovering a chip row lights the chip you are about to hit. |
Platforms and requirements
| Platform | Requirement | Notes |
|---|---|---|
| Mac | macOS 15.4 or later | Full feature set, including the guitar amp and looper. Minimum window 1000 × 760. |
| iPad | iPadOS 18.6 or later | Landscape, full screen. Full feature set, the amp and looper included; use an audio interface or headphones for monitoring. |
| iPhone | Not supported | The layout is built around a wide neck; an iPhone version is planned but not shipped. |
| Audio interface | For the amp and the looper | An audio interface (USB-C on iPad) or headphones. Precision tuning is unavailable over a Bluetooth input, because Bluetooth resamples with its own clock and sub-cent readings would be fiction — the tuner says so and stays in Fast. |
Fretling runs entirely on your device — no account, no analytics, no cloud sync. See the privacy policy.
Still stuck?
If this guide did not answer your question, write to adofito@gmail.com. Fretling is made by one person, so a reply usually takes a day or two.
What helps most, in the first message:
- Mac or iPad, and which version of macOS or iPadOS.
- The version of Fretling, from Settings › About — this guide covers 1.3.
- Whether Pro is unlocked, and whether you are in the trial.
- For anything about sound: your audio interface, and the sample rate and buffer size from the input console.
Bug reports and feature requests go to the same address. Nothing you send is added to a mailing list.