Practice Tools
Six tools open from the icon row at the right of the top bar. Each is a floating panel over the fretboard — drag it where you want it, and close it when you are done. When panels overlap, pressing one brings it to the front, and the arrangement is kept between launches. The neck stays visible and usable underneath.
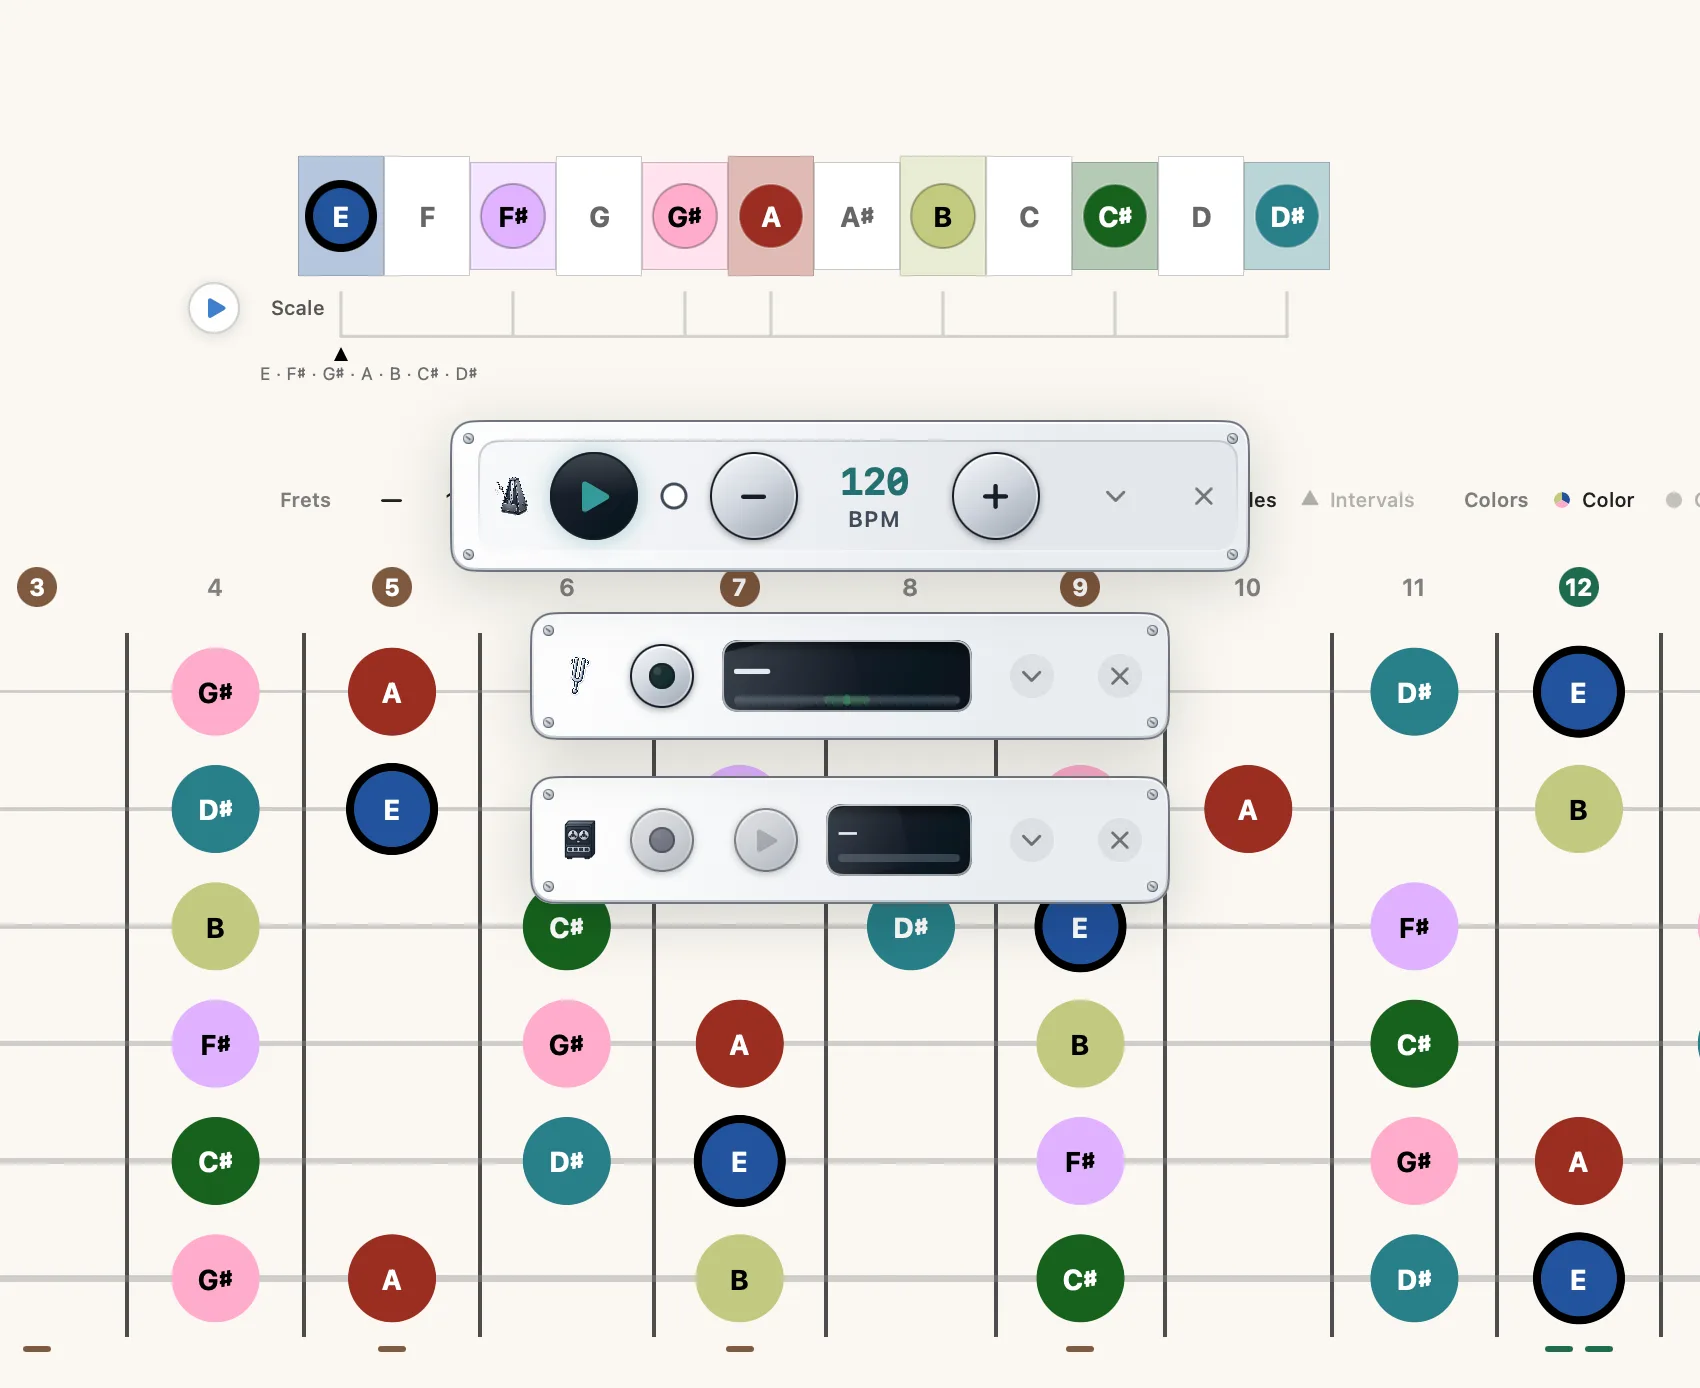
Every panel also minimizes to a one-row strip that keeps its main control and readout live — the metronome's play button, tempo and beat lamp; the tuner's Listen button, note and cents; the looper's Record and Play; the mixer's Main fader; the amp's Monitor and output gain; Live Detect's Listen and detected chord. Click the chevron beside the panel's close button, or double-click its header (double-tap on iPad); the same chevron expands it again. Which panels are minimized is remembered between launches, along with where they sit.
Everything on this page works on Mac and iPad, the amp and the looper included. Plug in a USB-C audio interface, or use headphones: monitoring through the built-in speaker feeds back into the built-in mic, and the amp will tell you so.
Four of these tools are part of Fretling Pro — the drum sequencer, the amp, the looper, and Live Detect — along with the tuner's Precision mode and its Trace, Strobe and Disc indicators. Anything marked Pro below needs that one-time unlock; the rest of the page is free. What Pro adds has the full list.
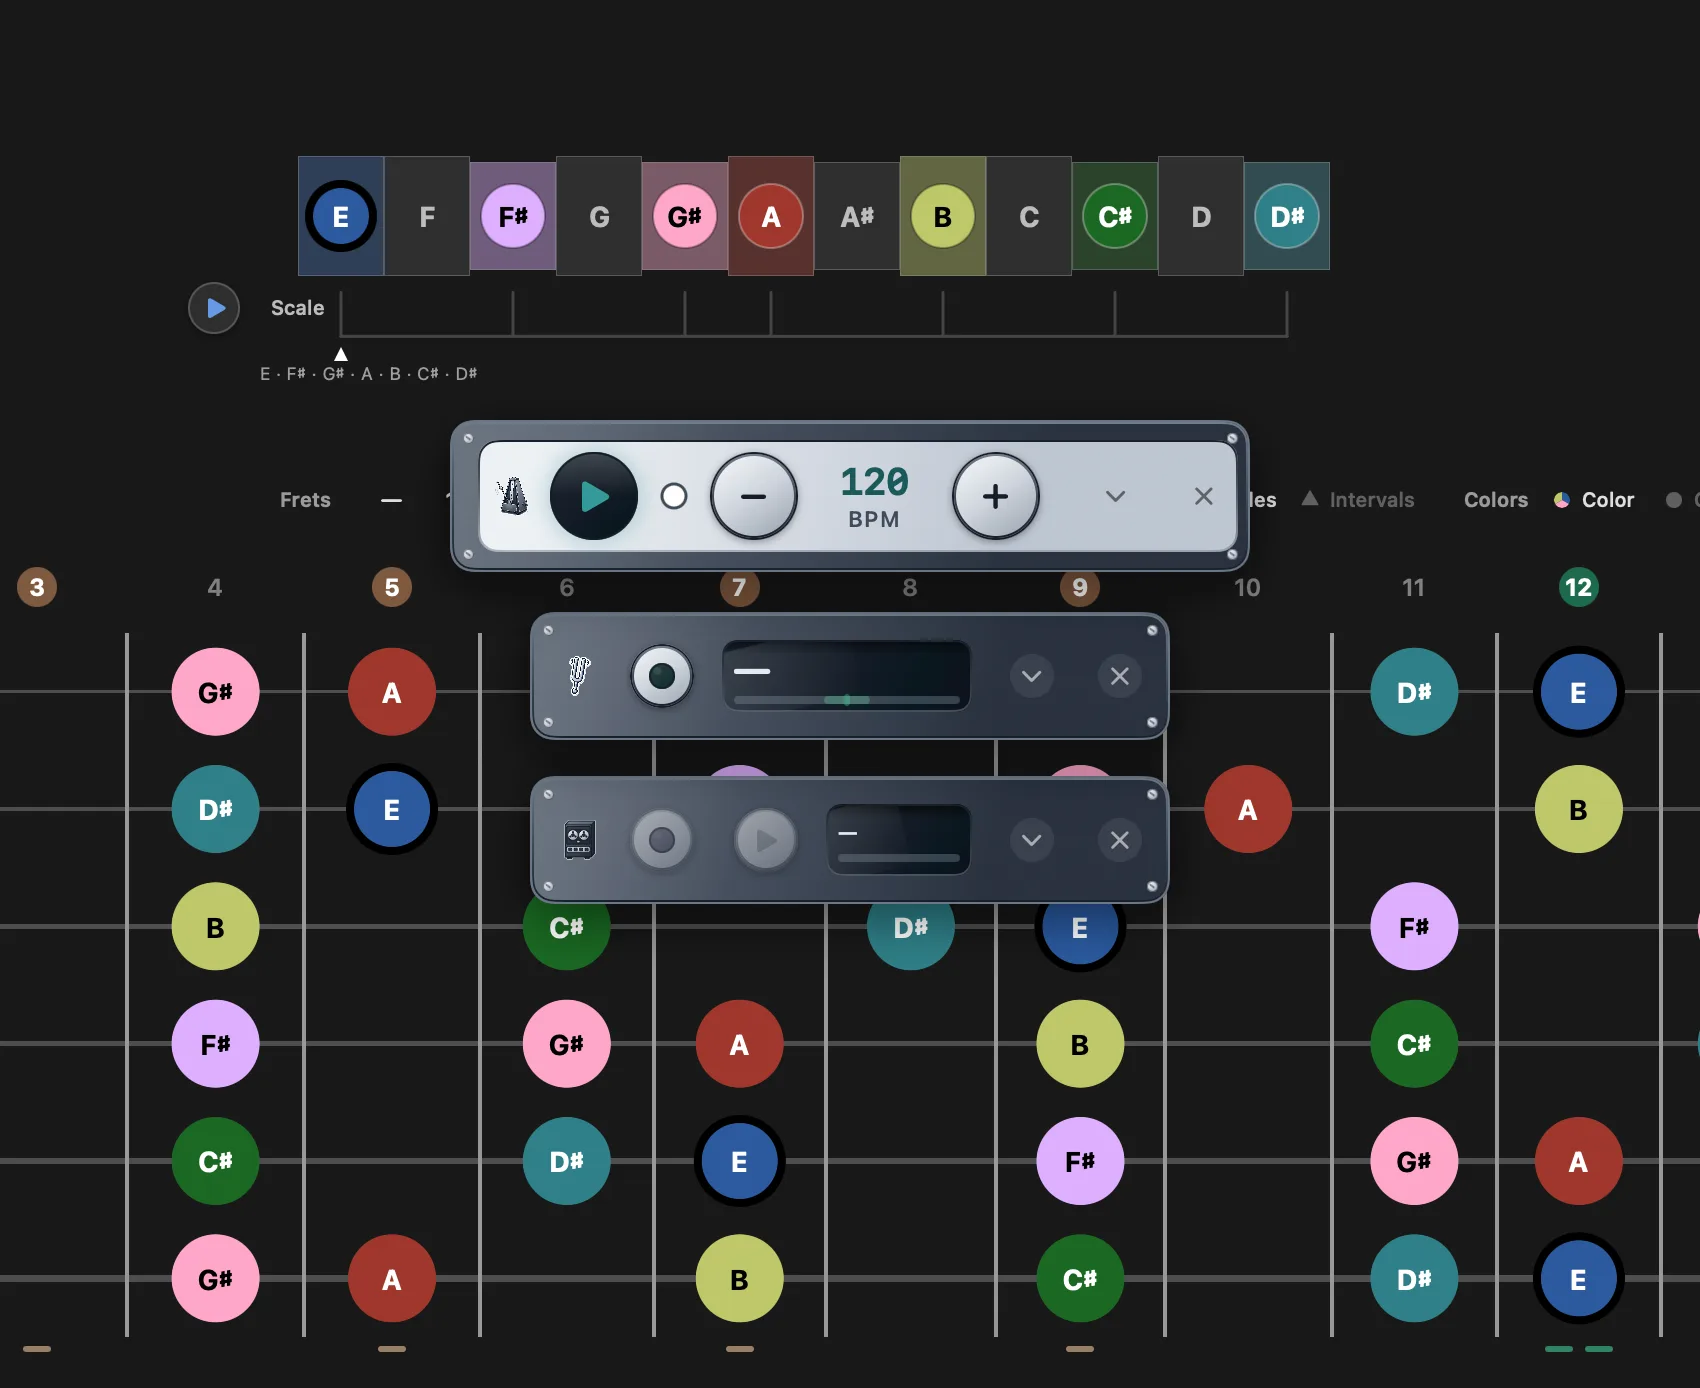
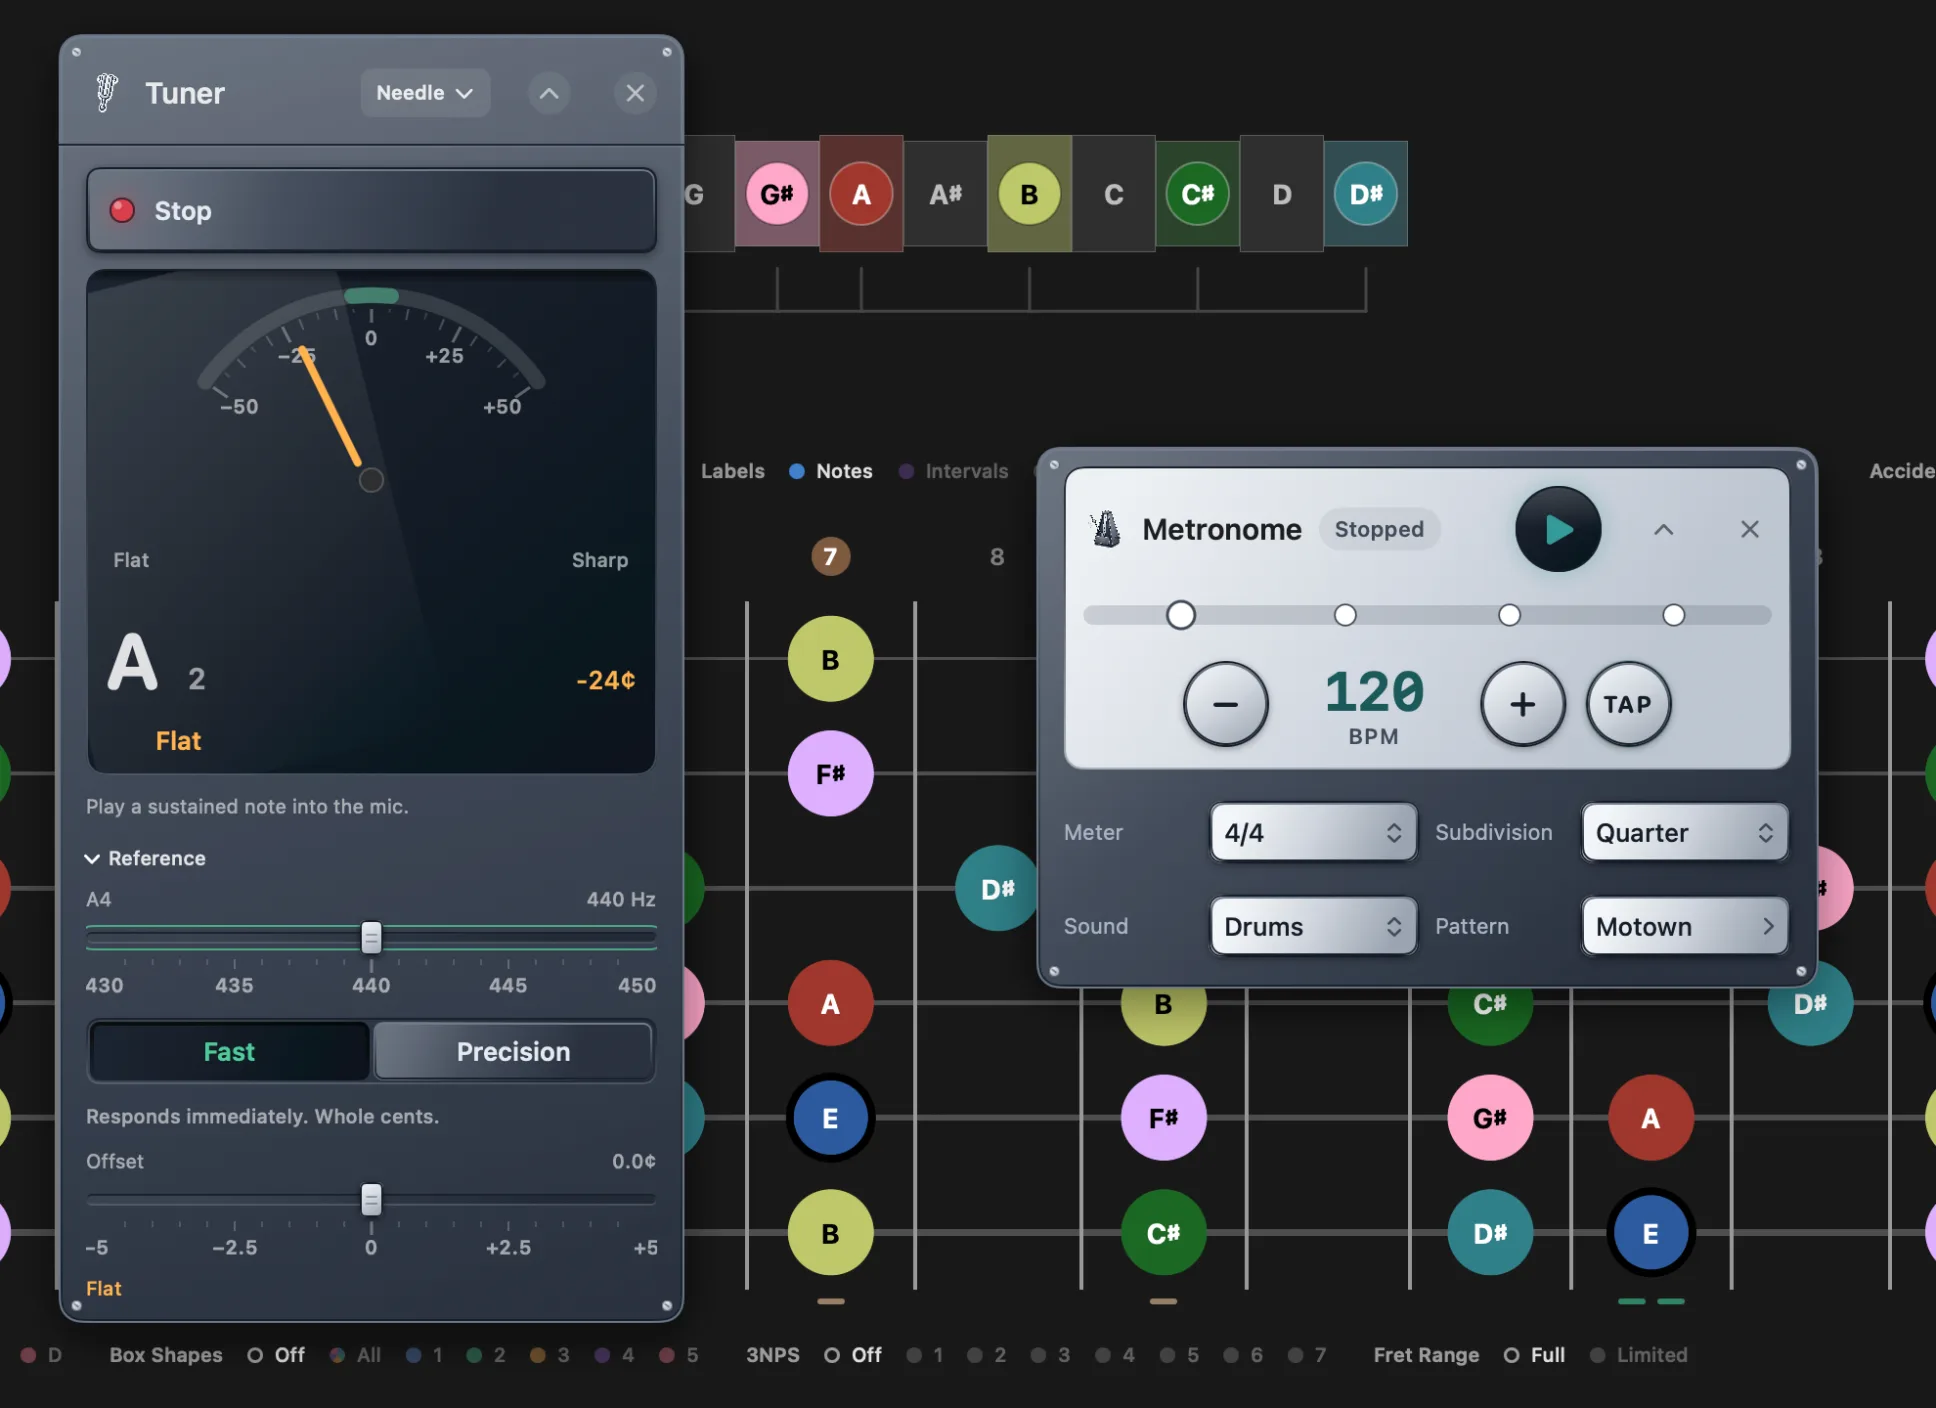
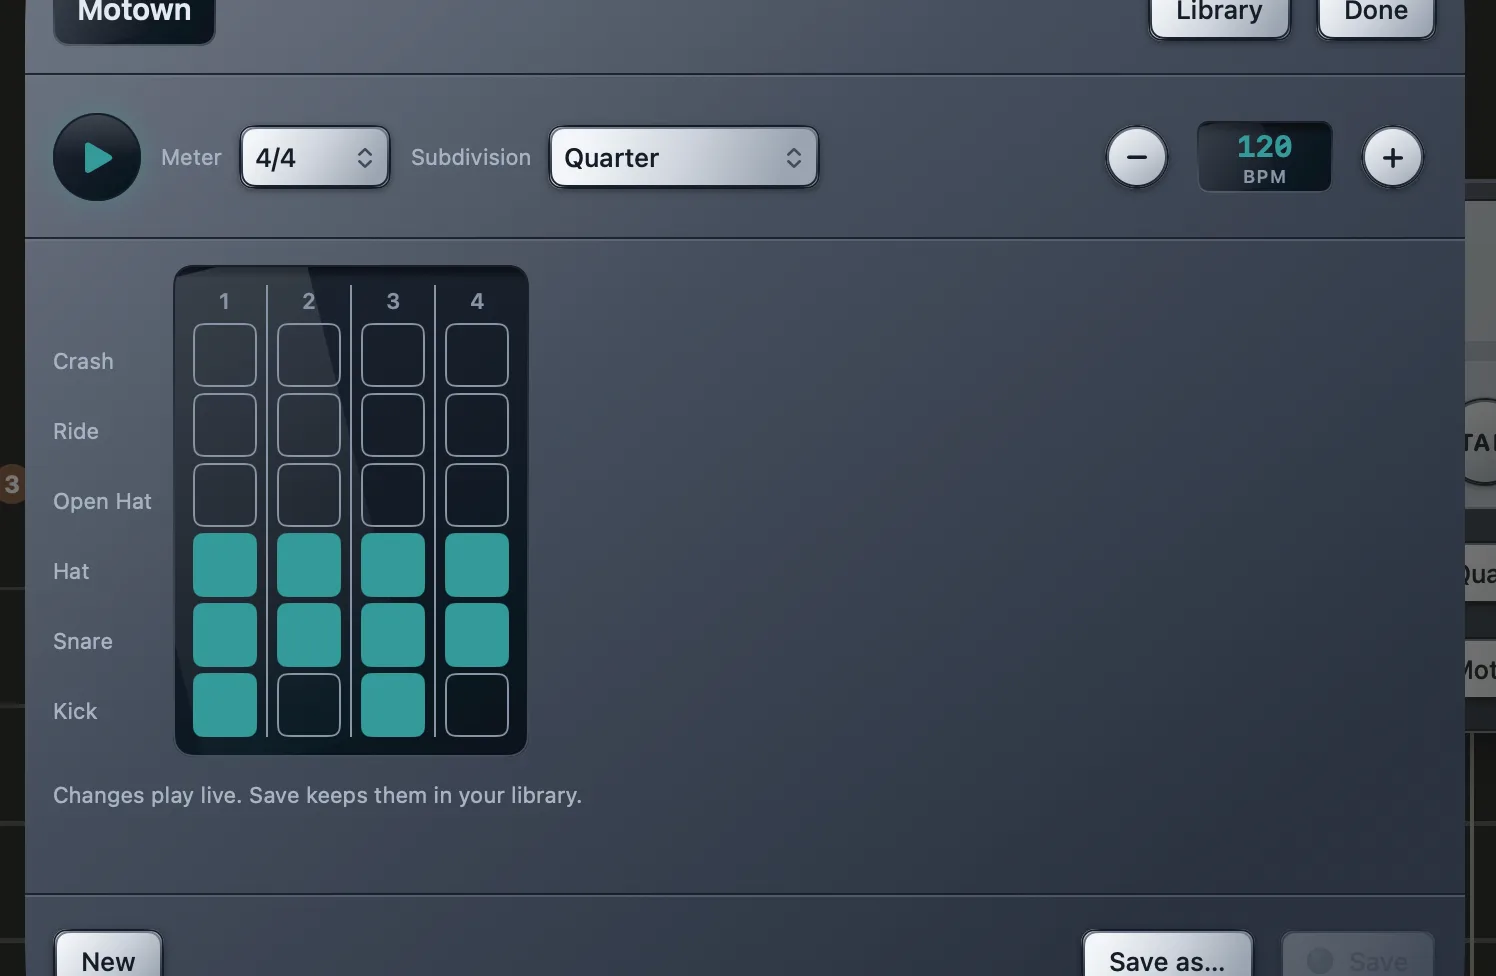
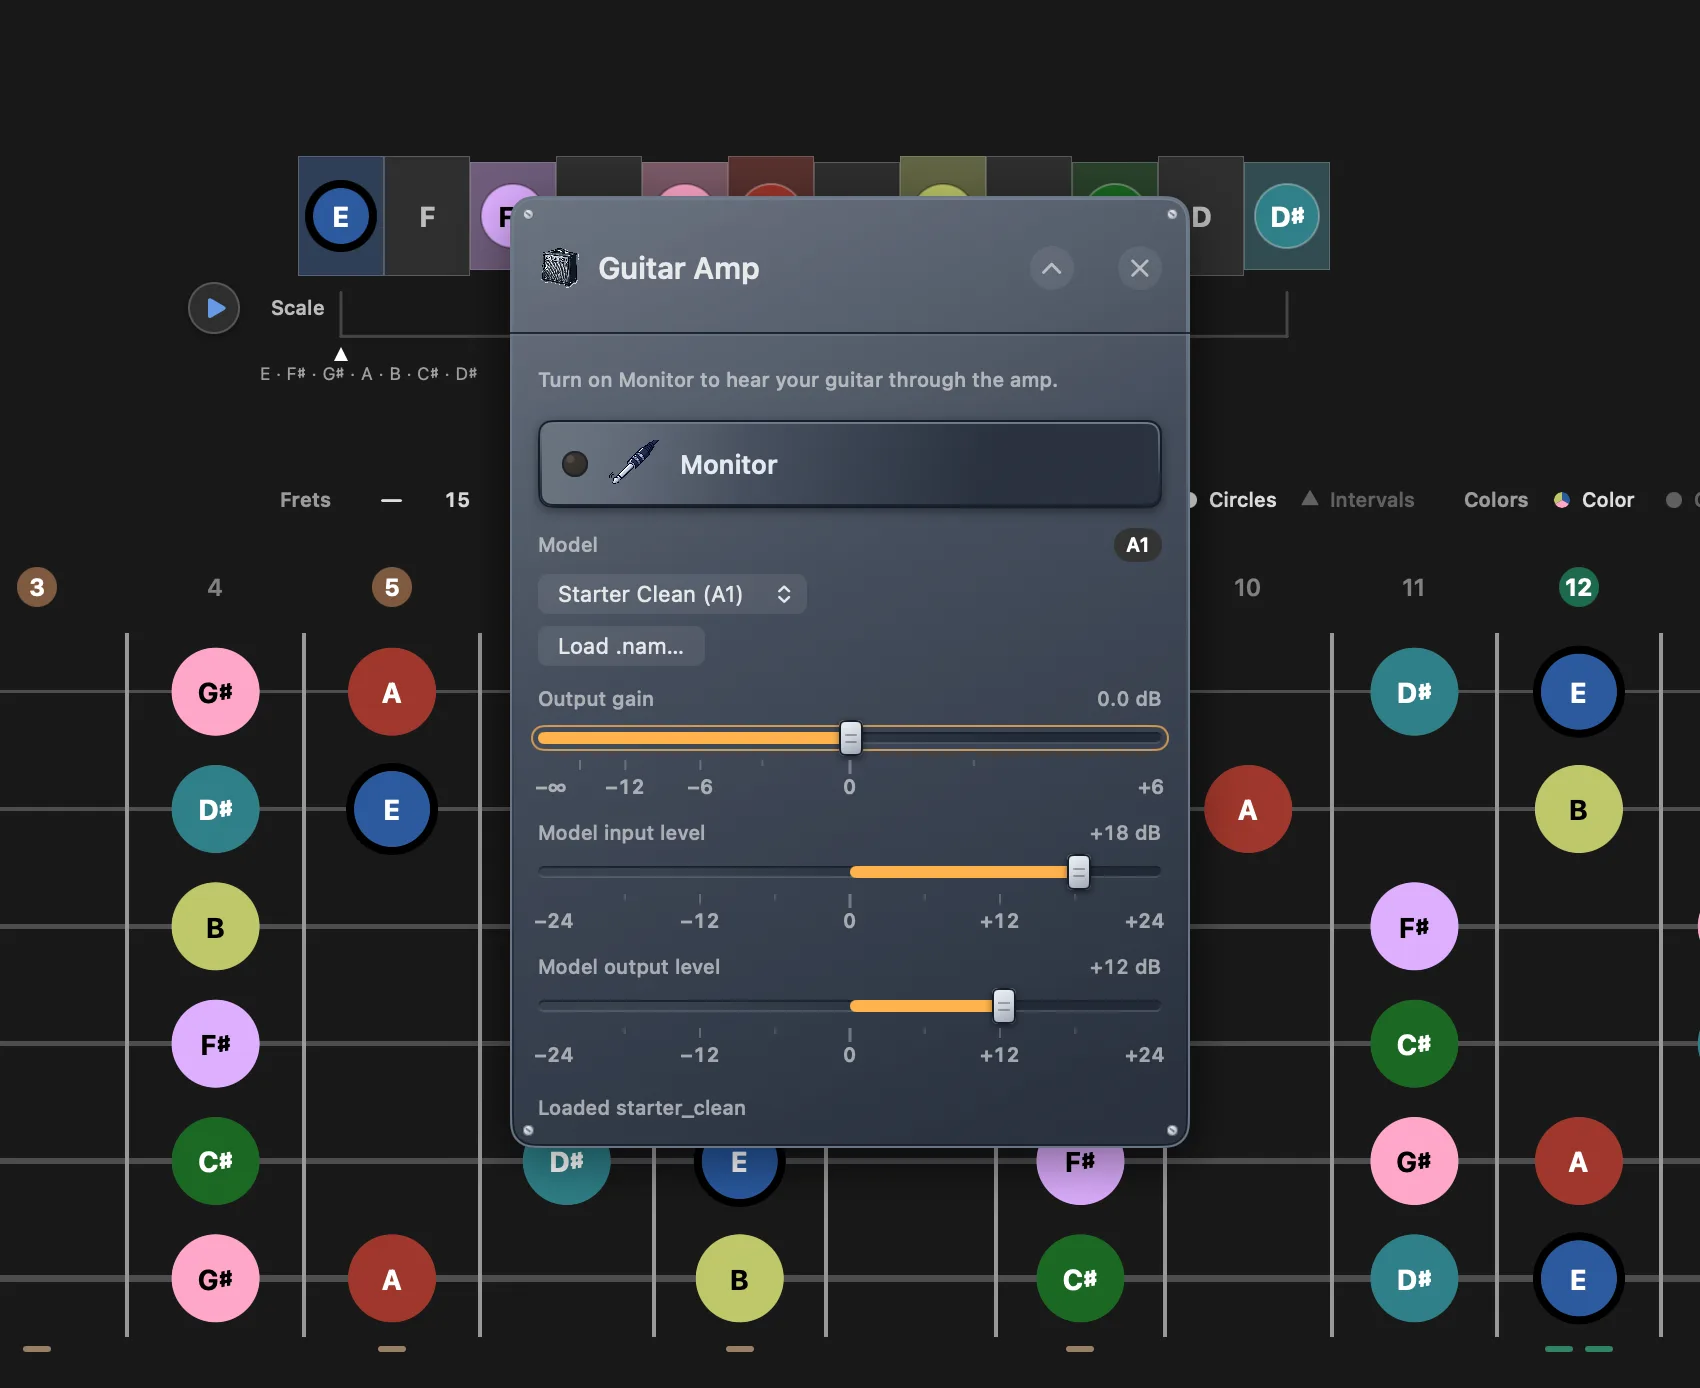
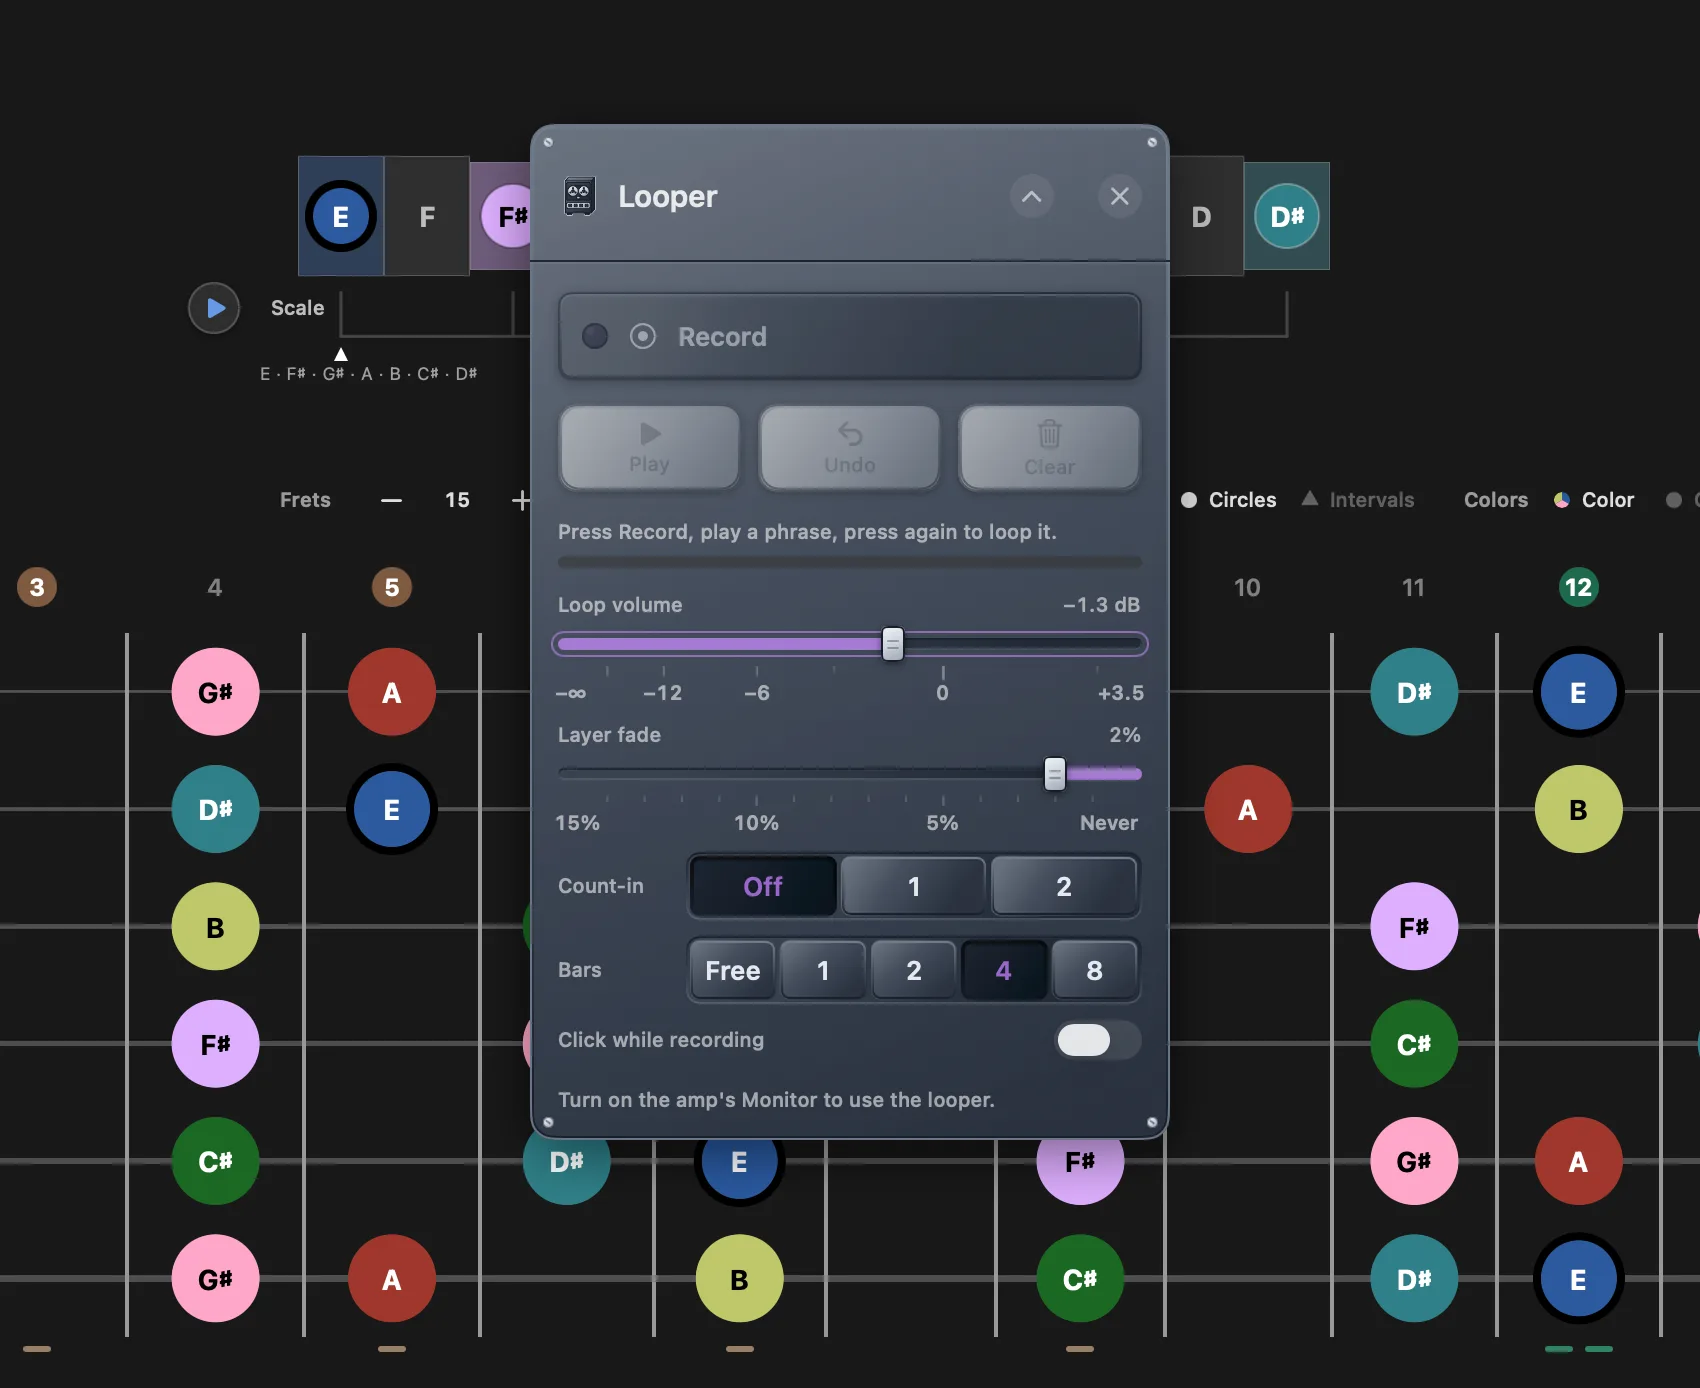
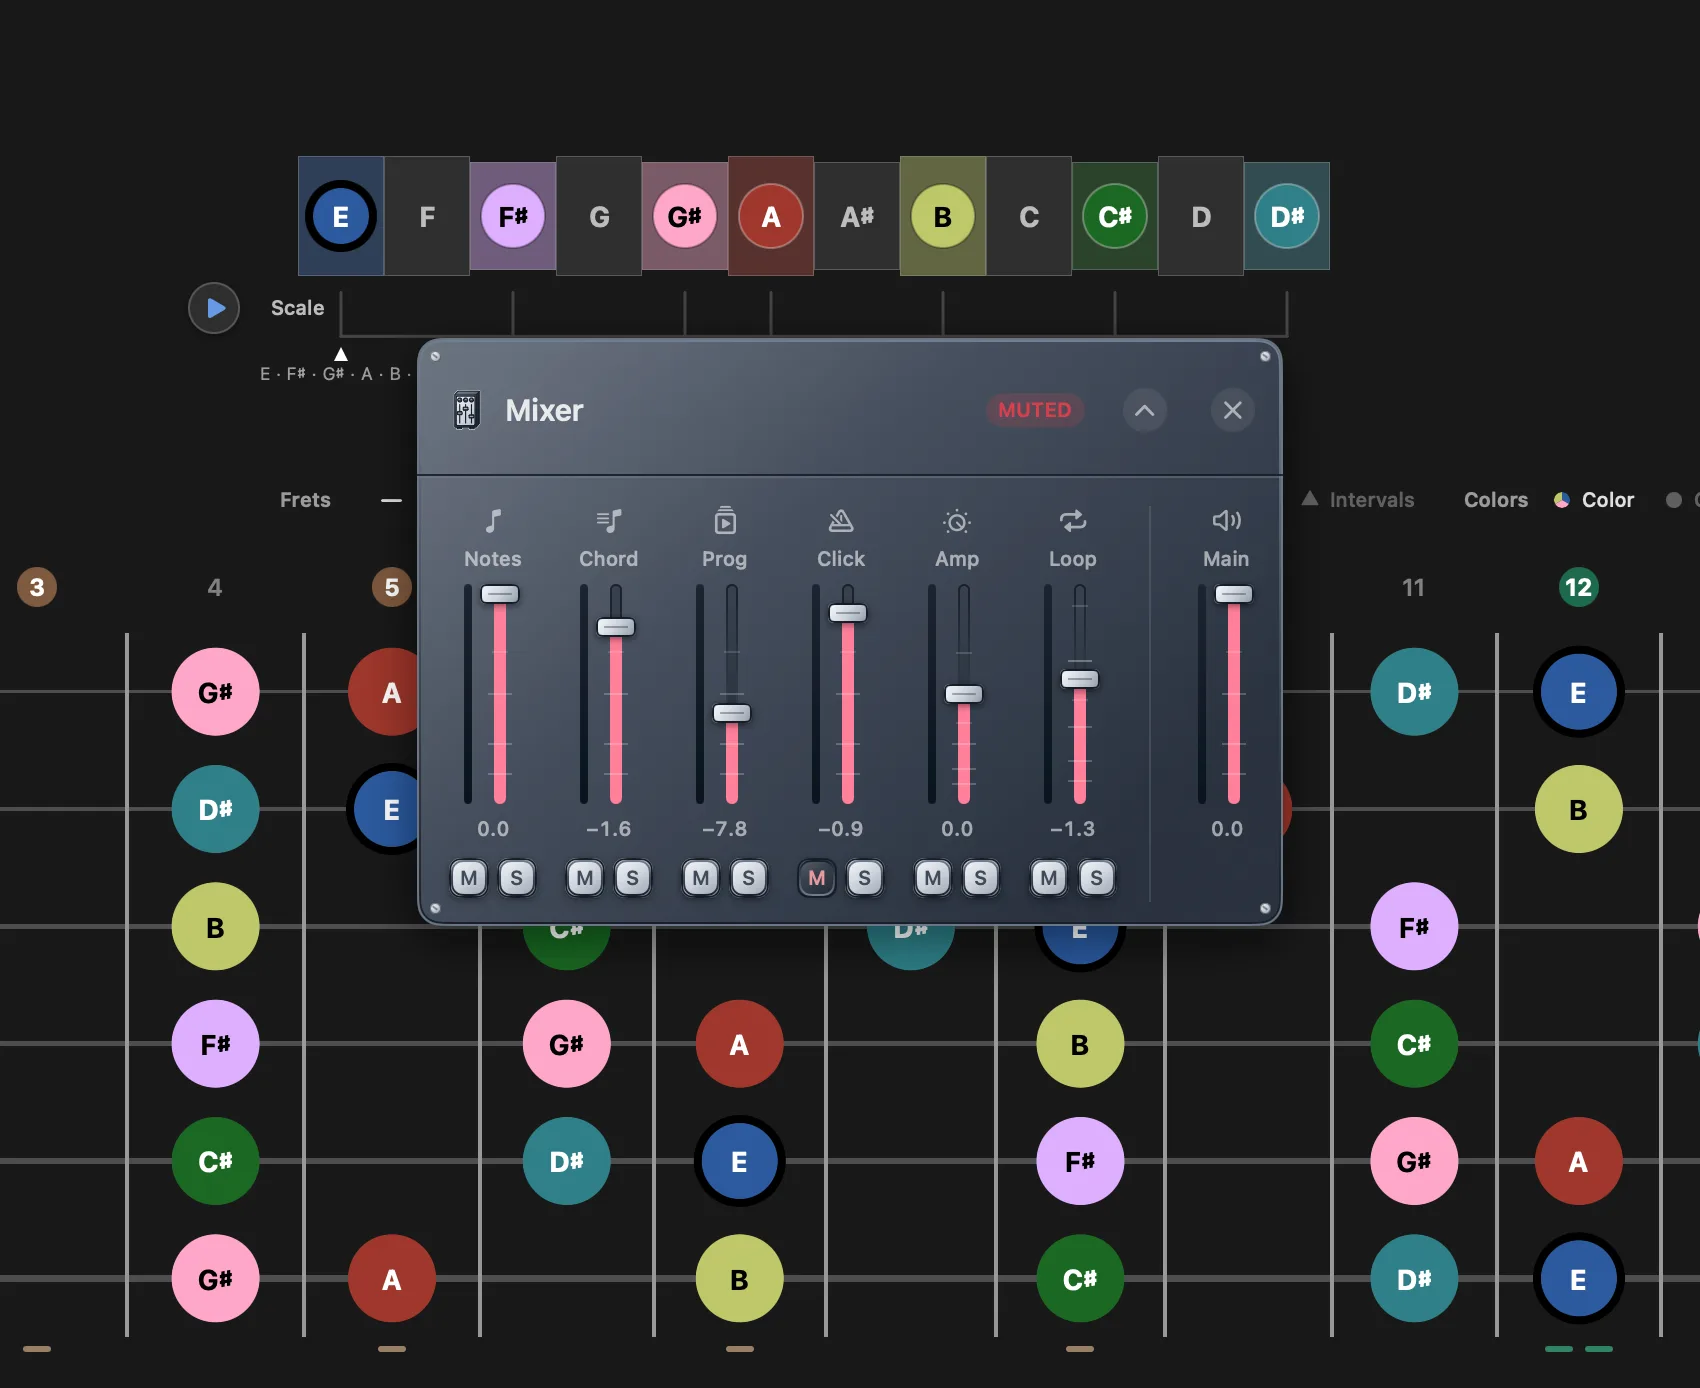
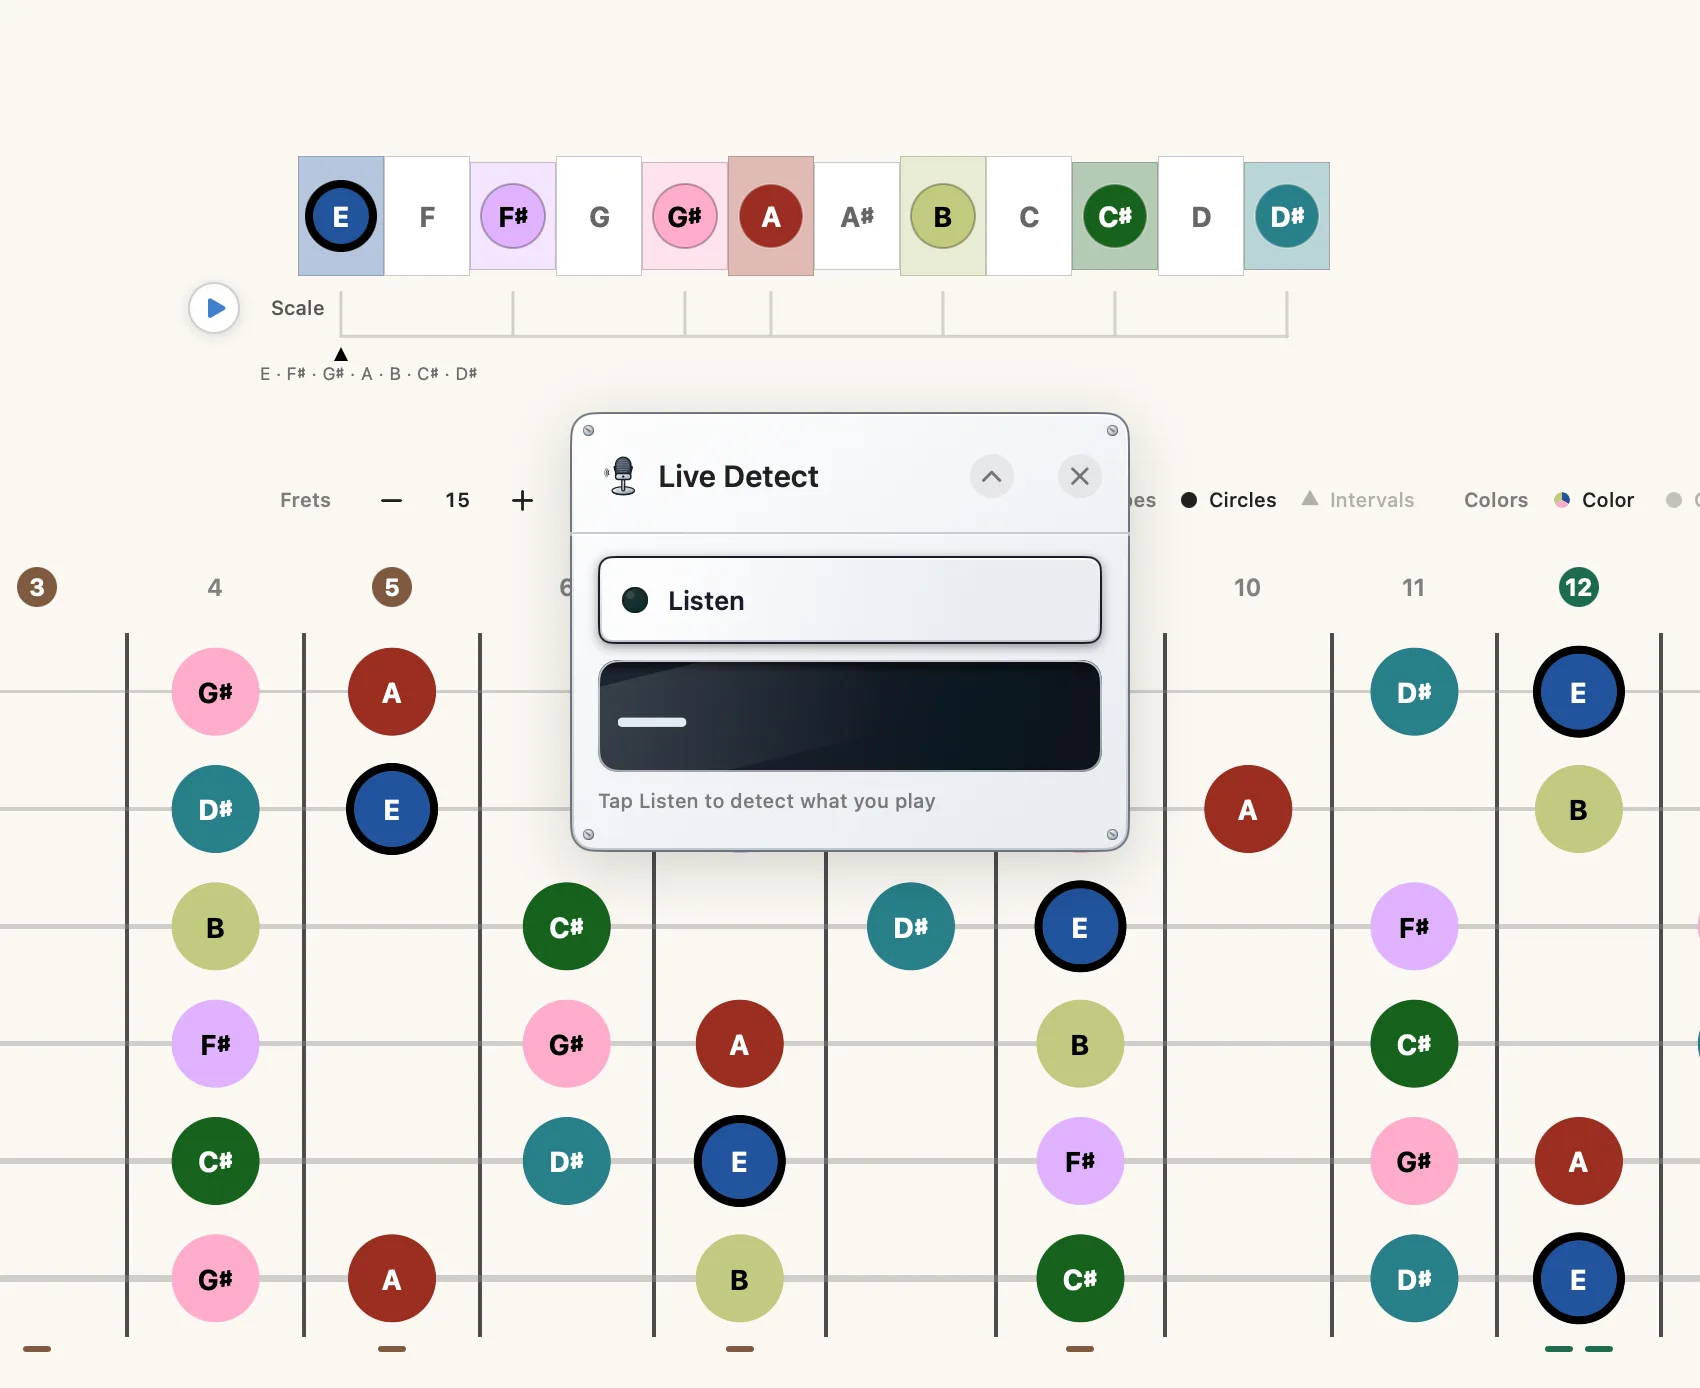
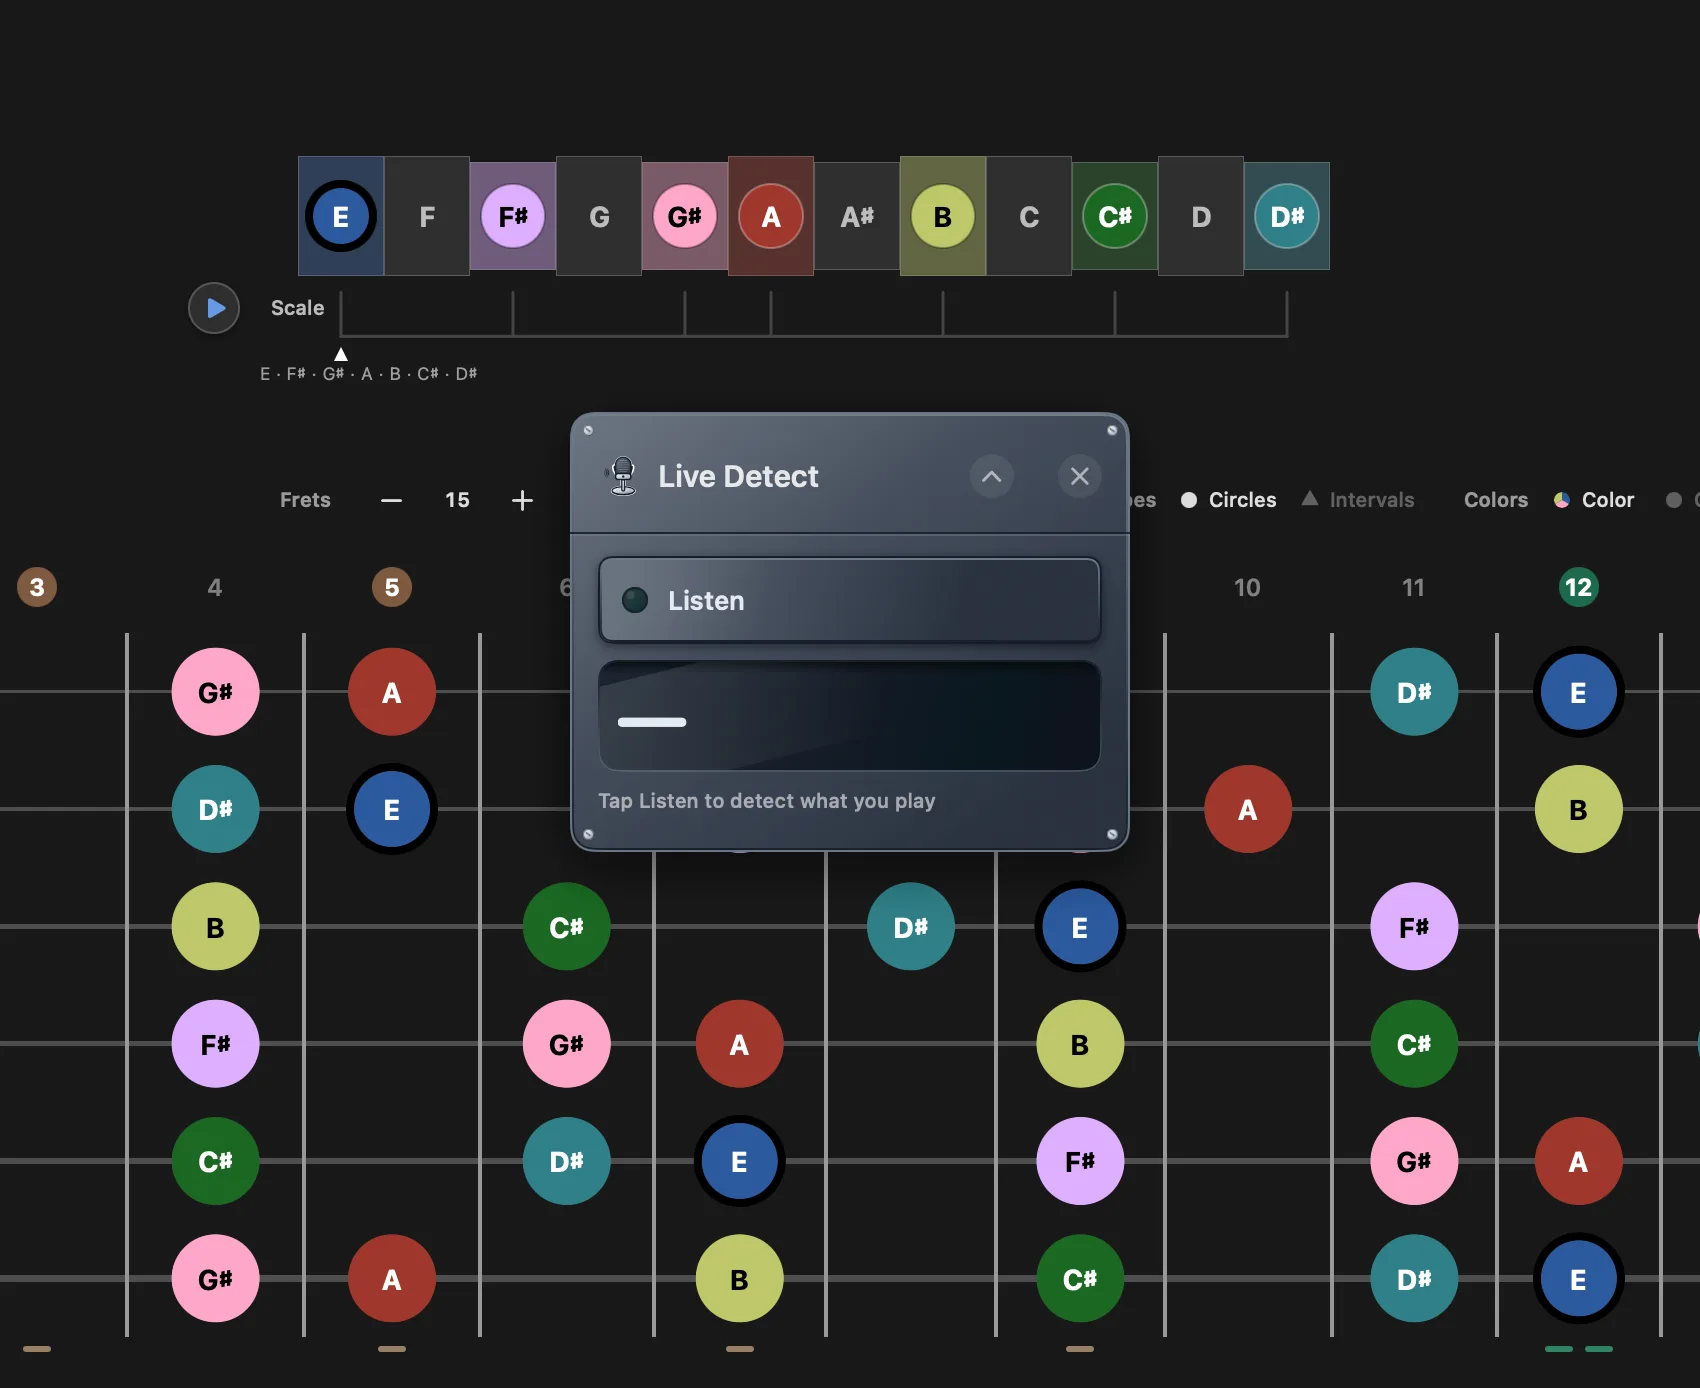
Every panel is built to look like the hardware it stands in for — a machined faceplate, recessed displays, indicator lamps, knurled fader caps. Two finishes ship: Machined, a light panel, and Studio, a graphite one. Settings › Fretboard › Appearance › Modules picks between them, and the default follows your theme — light panels on the light canvas, graphite on the dark one.
Every panel remembers three things separately: whether it is open, where you dragged it, and whether you left it folded to a strip. They come back that way at the next launch. Opening a tool from the top bar when its panel is already up raises it rather than doing nothing, so a panel lost under three others comes back to the front. Each header also carries a Reset position action for VoiceOver, for a panel that has ended up somewhere unreachable.
Tuner
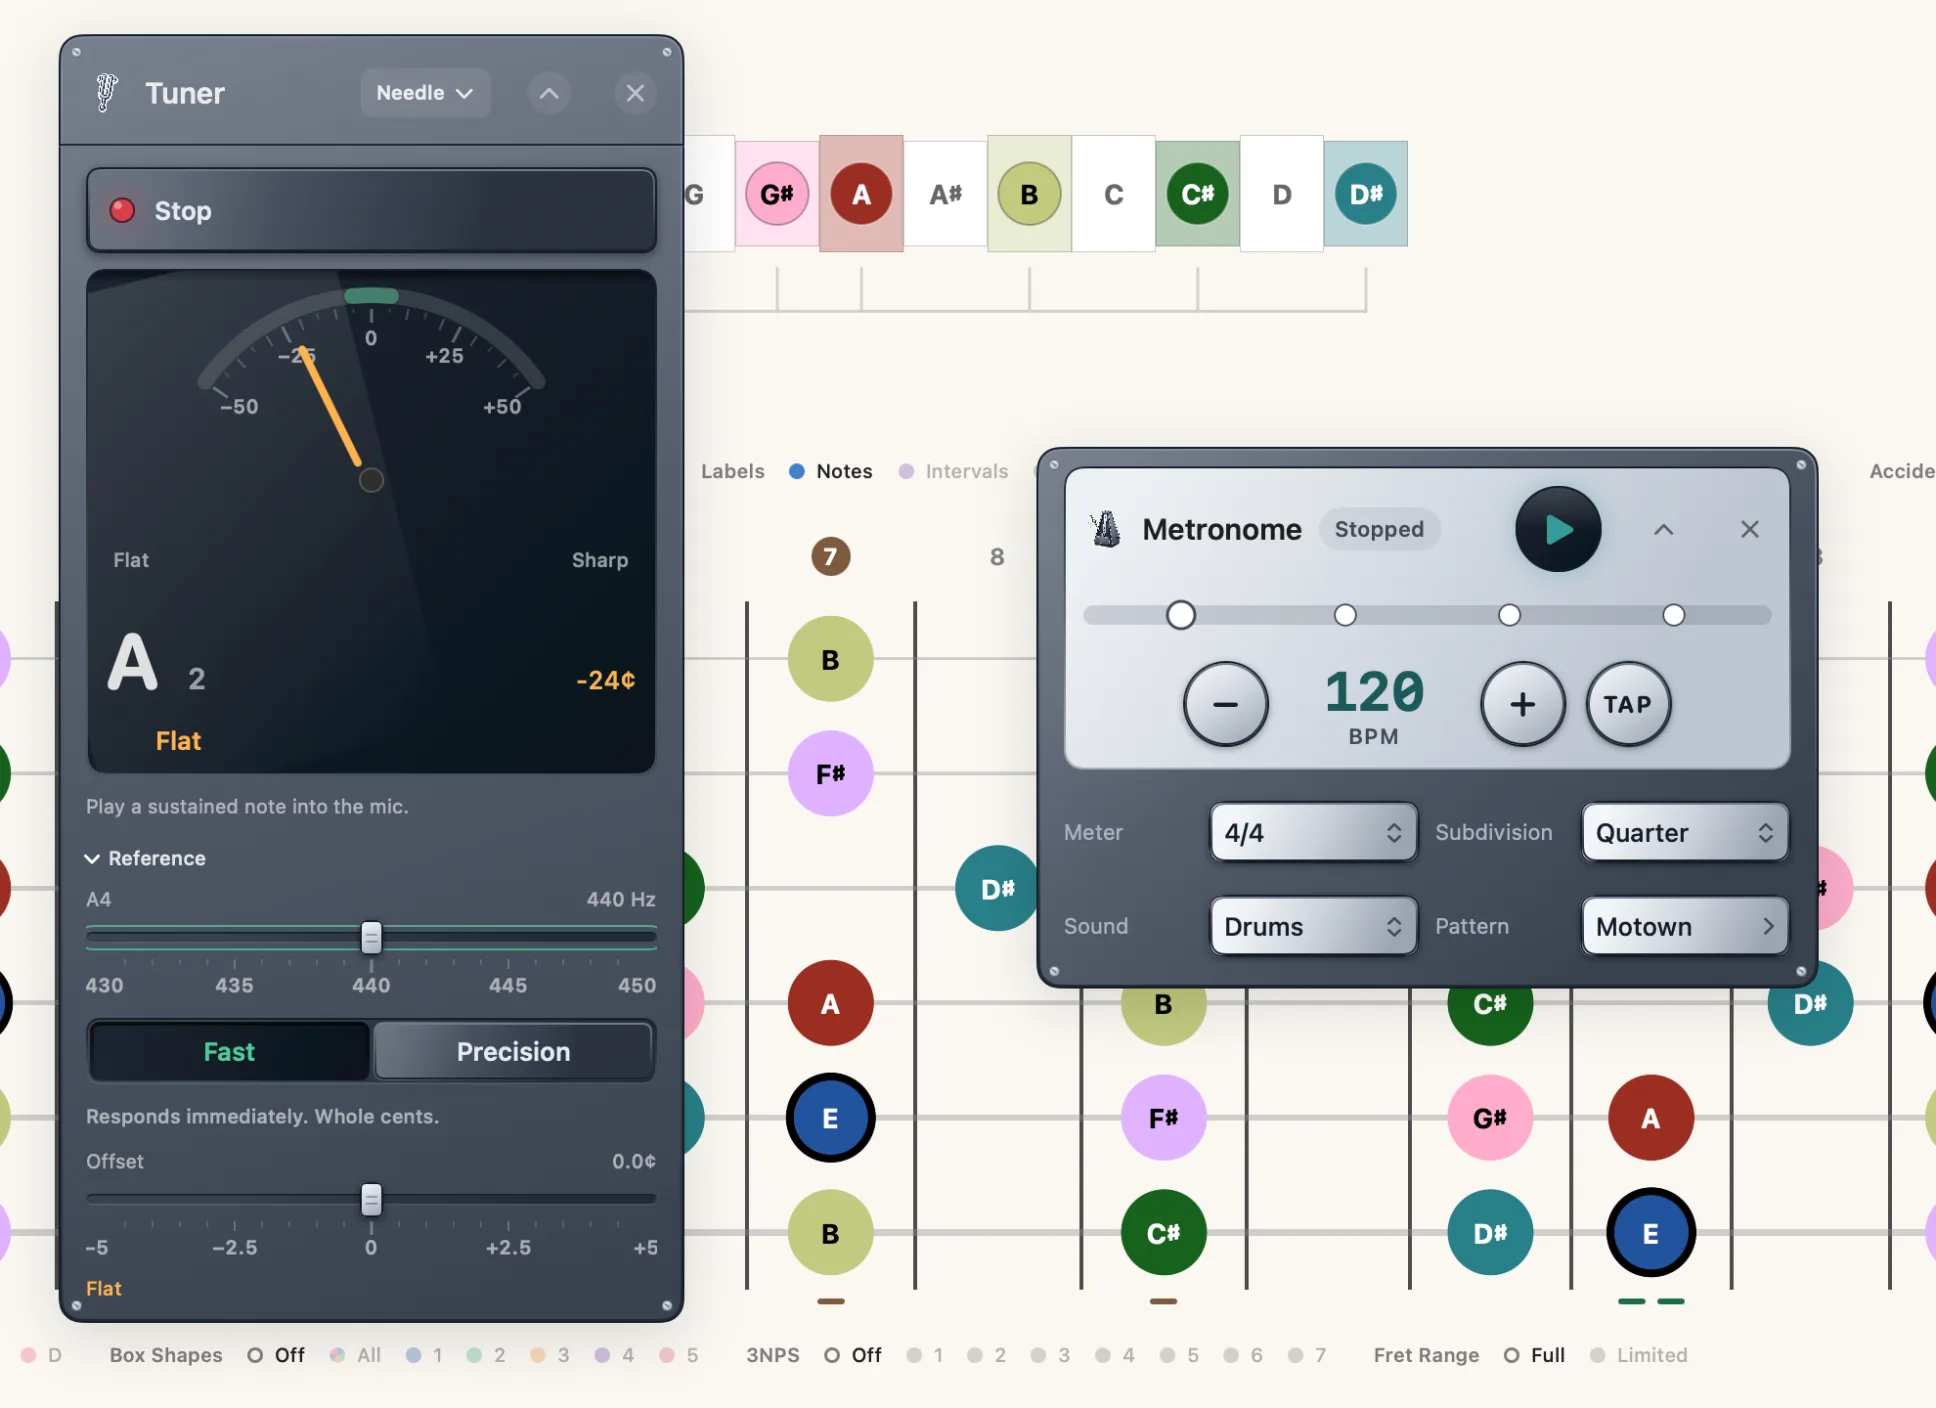
A chromatic tuner that listens through your microphone or audio interface. It names the note you are playing and shows how far off you are in cents.
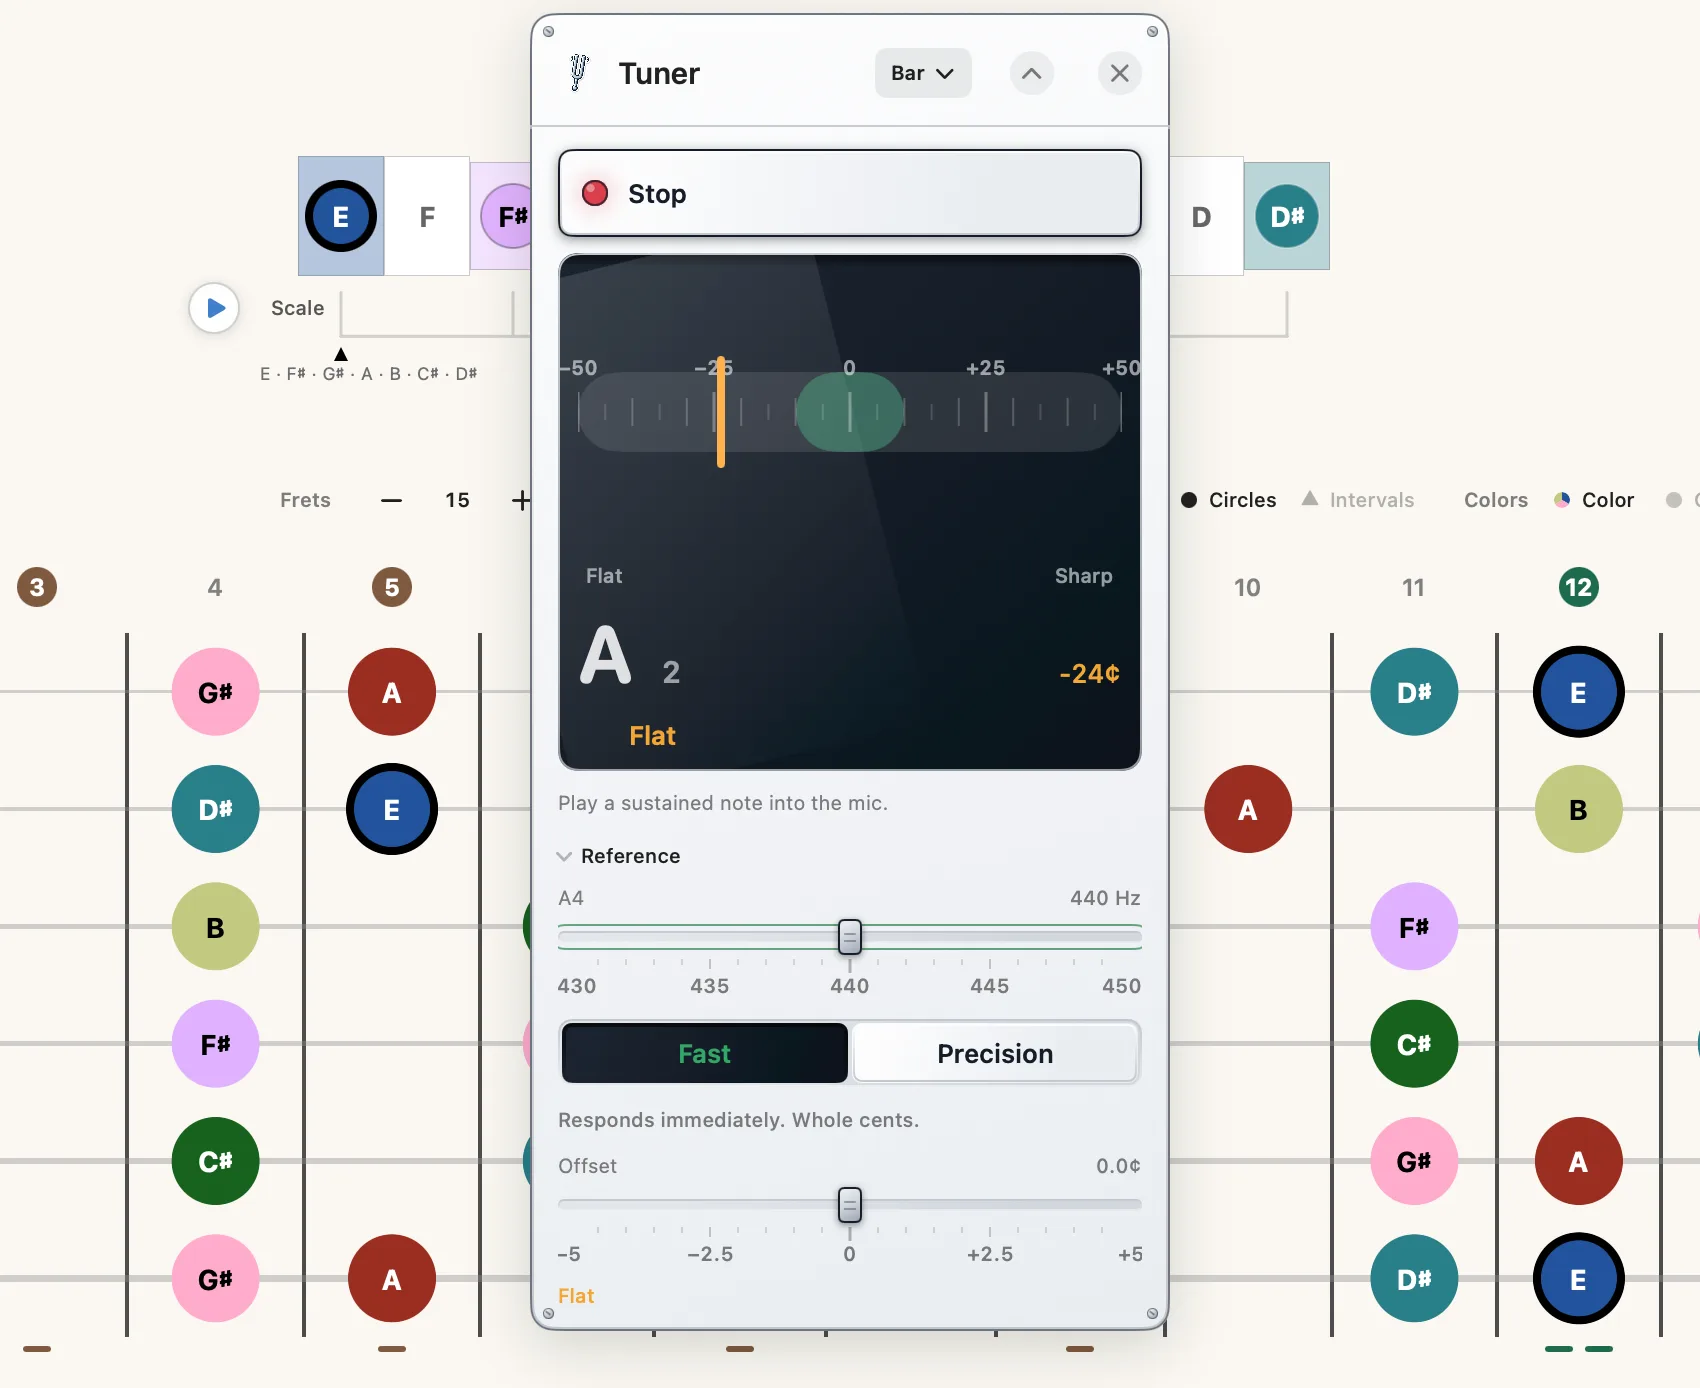
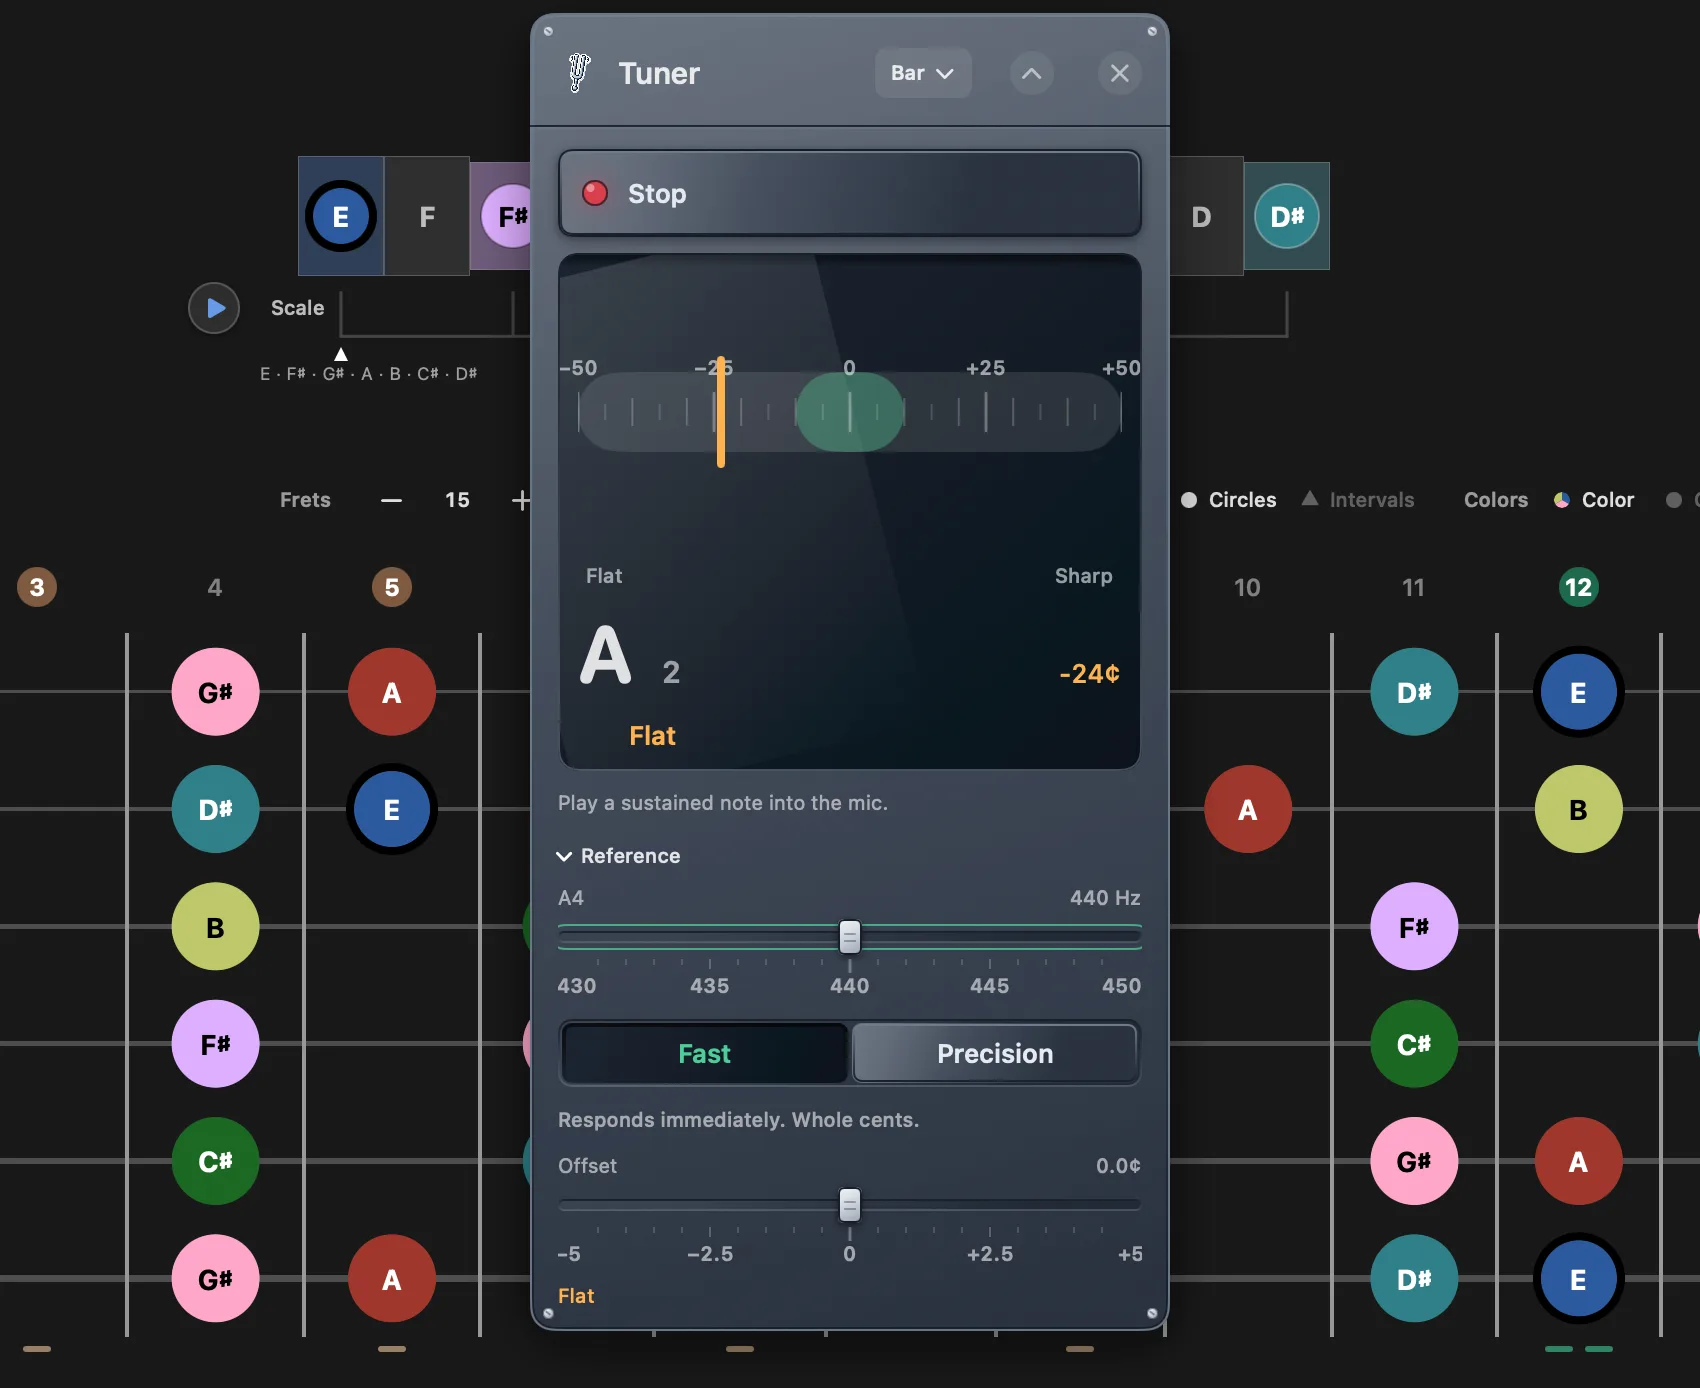
Indicator styles
Five ways of drawing the same measurement — pick whichever you read fastest. The Indicator control is a pull-down in the panel’s own header, beside the tuner’s name, rather than down in the settings, because it is a thing you switch while you are looking at the reading. Needle is the default; Needle and Bar are free.
- Needle — a classic swinging needle.
- Bar — a horizontal deviation bar against a cents scale.
- Trace Pro — plots pitch over time, so drift and vibrato are visible. With Reduce Motion on, the trace sweeps across the display instead of scrolling, so what it has drawn stays put.
- Strobe Pro — a strobe band that stands still when you are in tune.
- Disc Pro — a rotating disc, seen through a half-moon window, that stops turning at true pitch.
Fast or Precision
These are two different instruments, not a quality slider:
| Mode | Reads | In tune within | Use it when |
|---|---|---|---|
| Fast | Responds immediately, whole cents | ±5 cents | Retuning a string mid-song, checking quickly between takes. |
| Precision Pro | Hold a note about a second, tenths of a cent | ±0.5 cents | Setting the guitar up properly with it on the bench. |
Precision measures phase over a settled baseline, which is why it needs a held note — a sub-cent reading is only as good as the stretch of signal it was fitted over.
Reference and calibration
At the bottom of the panel, a Reference disclosure holds the Fast / Precision switch and two settings you set once and leave alone:
- A4 — the reference pitch, from 430 to 450 Hz in whole hertz, 440 by default. Turn it for an orchestra that tunes to 442, or a recording at 432.
- Offset — a manual correction of up to ±5 cents, in tenths, for an instrument or an interface that reads consistently sharp or flat. Under it, after the tuner has listened for a while, a line reports how far your audio input's clock runs from its nominal rate, in parts per million and in cents. That part is measured and corrected automatically, so the slider only ever carries your own preference.
Metronome
| Control | Range / options | Notes |
|---|---|---|
| Tempo | 40–250 BPM, default 120 | Steppers move one BPM at a time; hold to run. |
| TAP | — | Tap in time and the tempo follows your taps. |
| Meter | Eleven meters: 4/4, 3/4, 2/4, 1/4, 5/4, 6/8, 7/8, 9/8, 12/8, 6/4, 3/8 | The beat indicator shows your place in the bar. |
| Subdivision | Quarter, Eighth, Triplet, Dotted Eighth, Sixteenth | Subdivides the beat without changing the tempo. Dotted Eighth is the long–short pair — a dotted eighth and a sixteenth — two clicks to every beat. |
| Sound | Classic (default), Woodblock, Click — free. Drums — Pro | Drums plays a real kit pattern instead of a click — see below. If Drums was your setting when a trial ended, the metronome plays Classic while it is locked and your choice is left alone, so unlocking gives it straight back. |
| Accent / Pattern | On / off — or the active beat | Emphasizes the downbeat of each bar. With Sound set to Drums the cell becomes Pattern instead, naming the beat that is loaded and opening the editor — a drum pattern accents itself, so there is no switch to leave sitting there dead. |
On the Mac, the space bar is one resolved transport rather than one button's key. If anything is rolling it stops — the click, the loop, or both. If nothing is, it starts the click, and a loop that is loaded and stopped starts with it, on the same downbeat. A looper that is closed, locked, empty or mid-take is not part of it, and the key stays what it always was: the click. The panel does not have to be open, and a running click keeps playing when you close it. Inside the drum pattern editor the key is the click alone, because the looper is not on screen there to see. Shift-Space presses the scale and chord transports instead — see Timeline transports and keyboard shortcuts.
On iPad, the click, a playing progression, the looper and the amp keep going when you switch apps or lock the screen; the tuner and Live Detect pause until you come back.
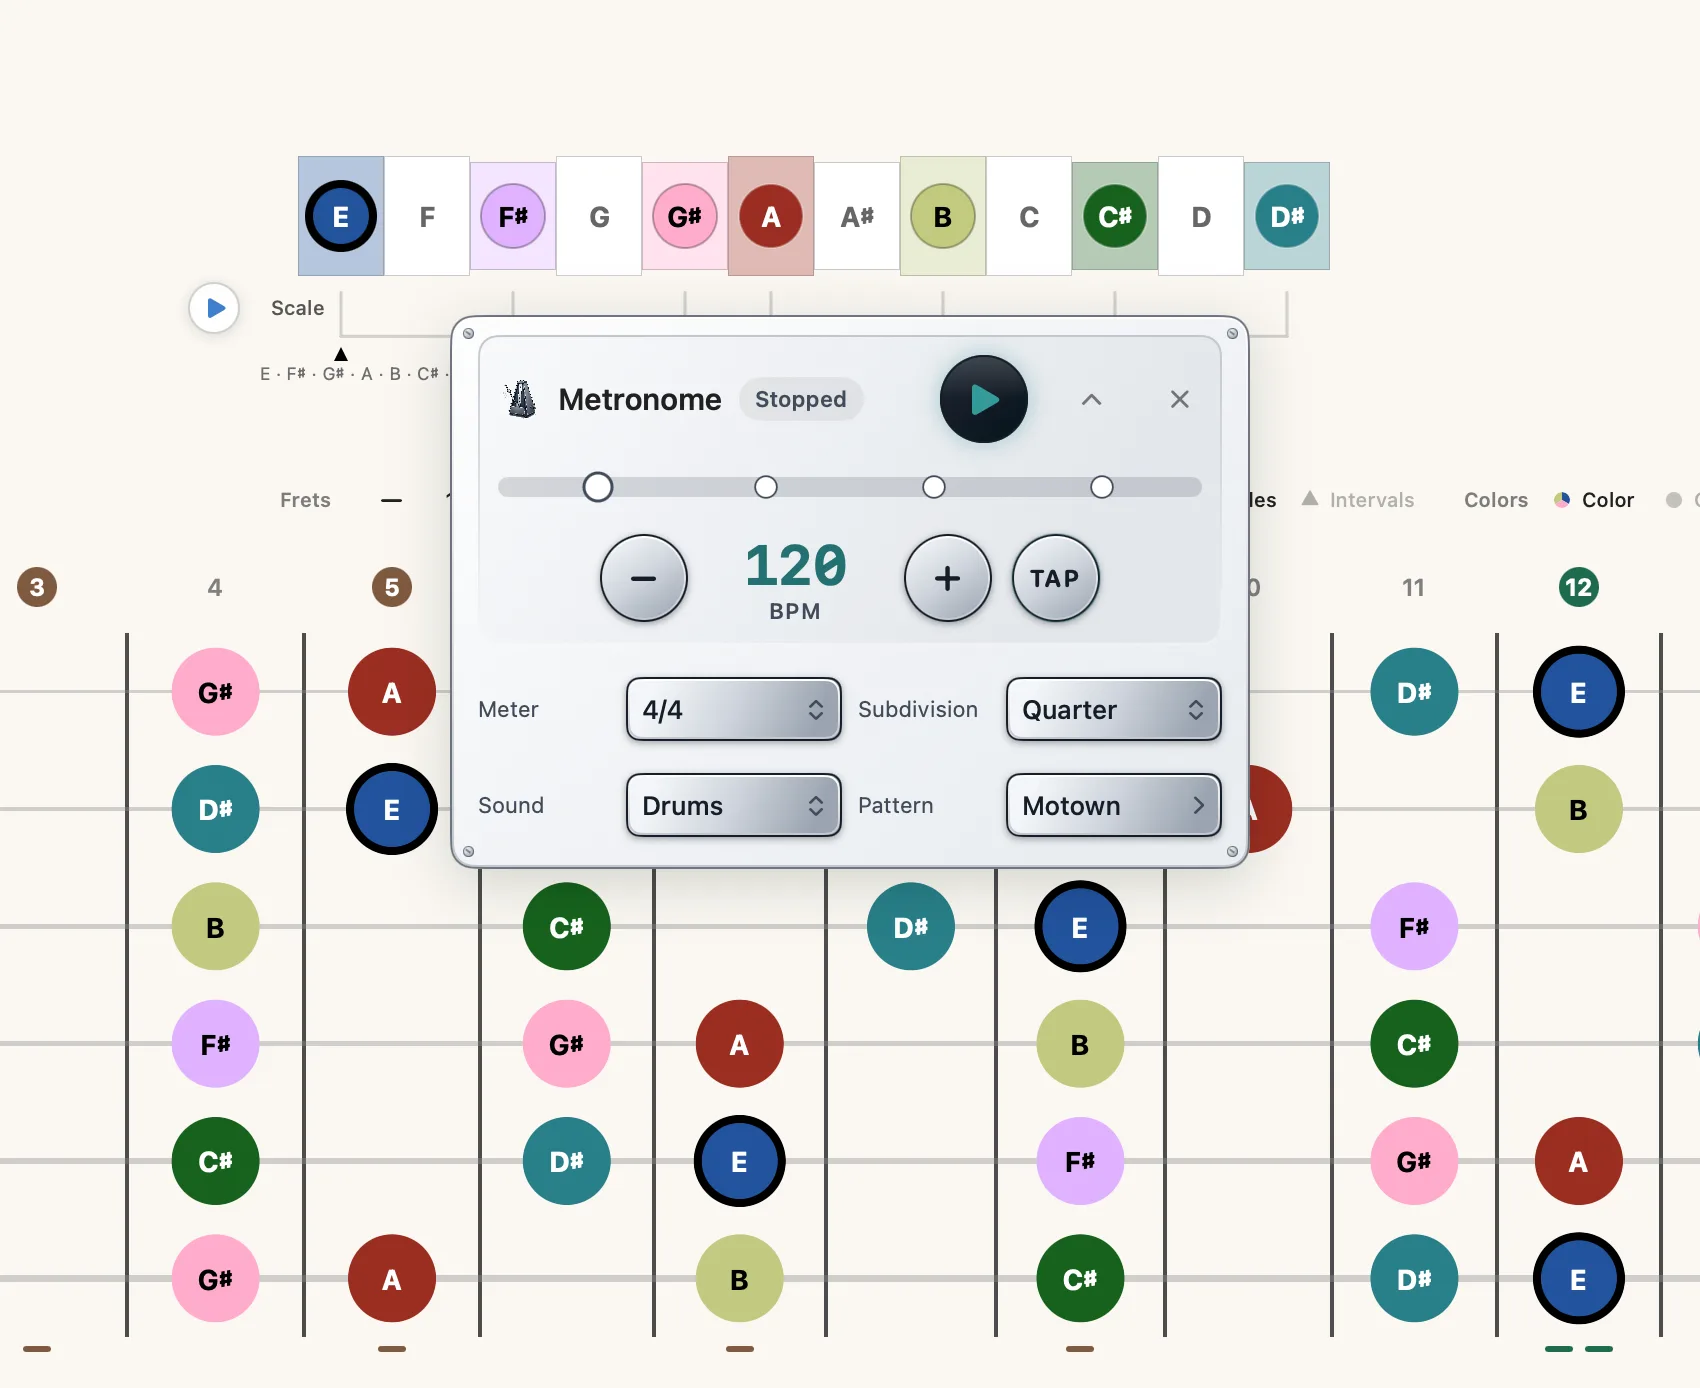
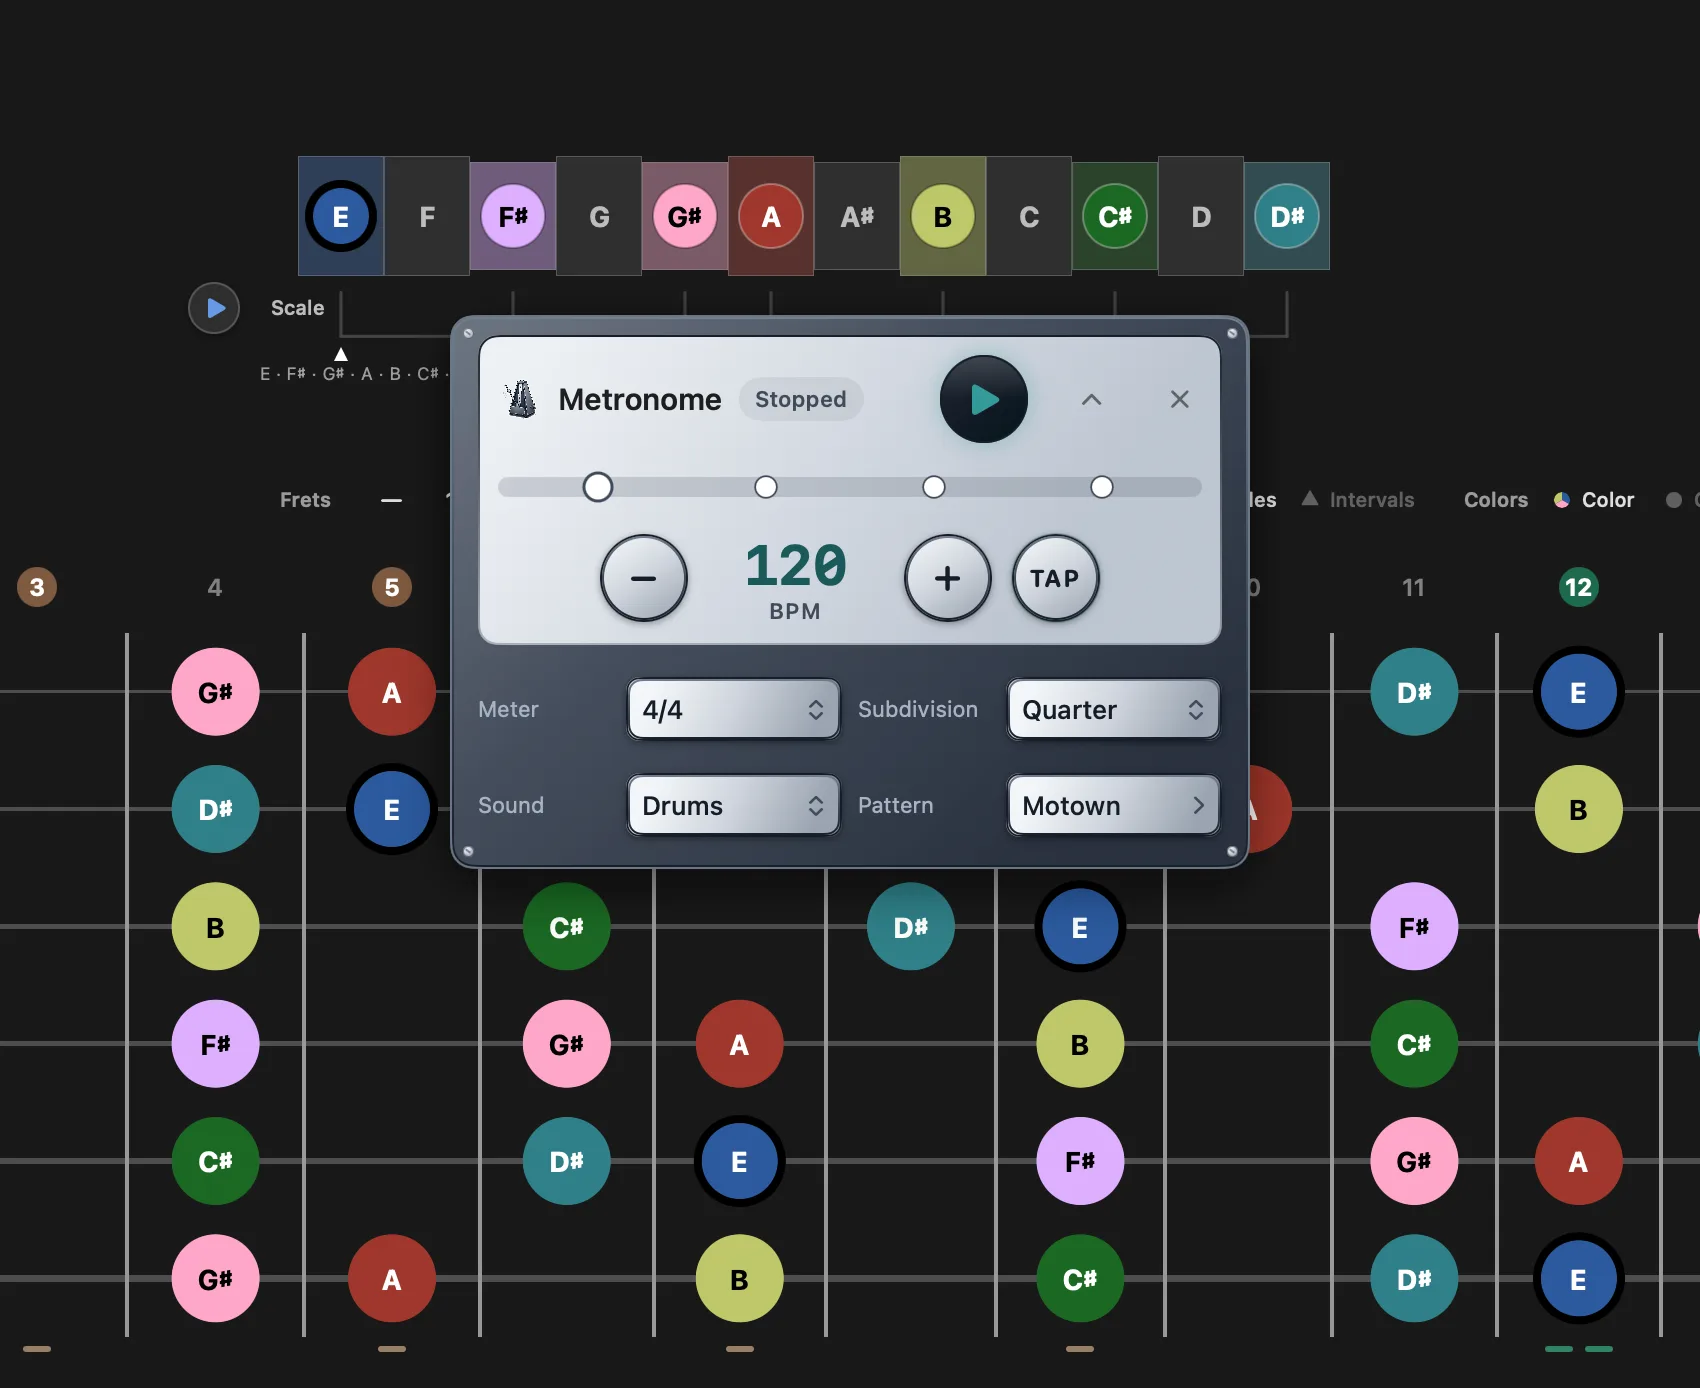
Drum sequencer Pro
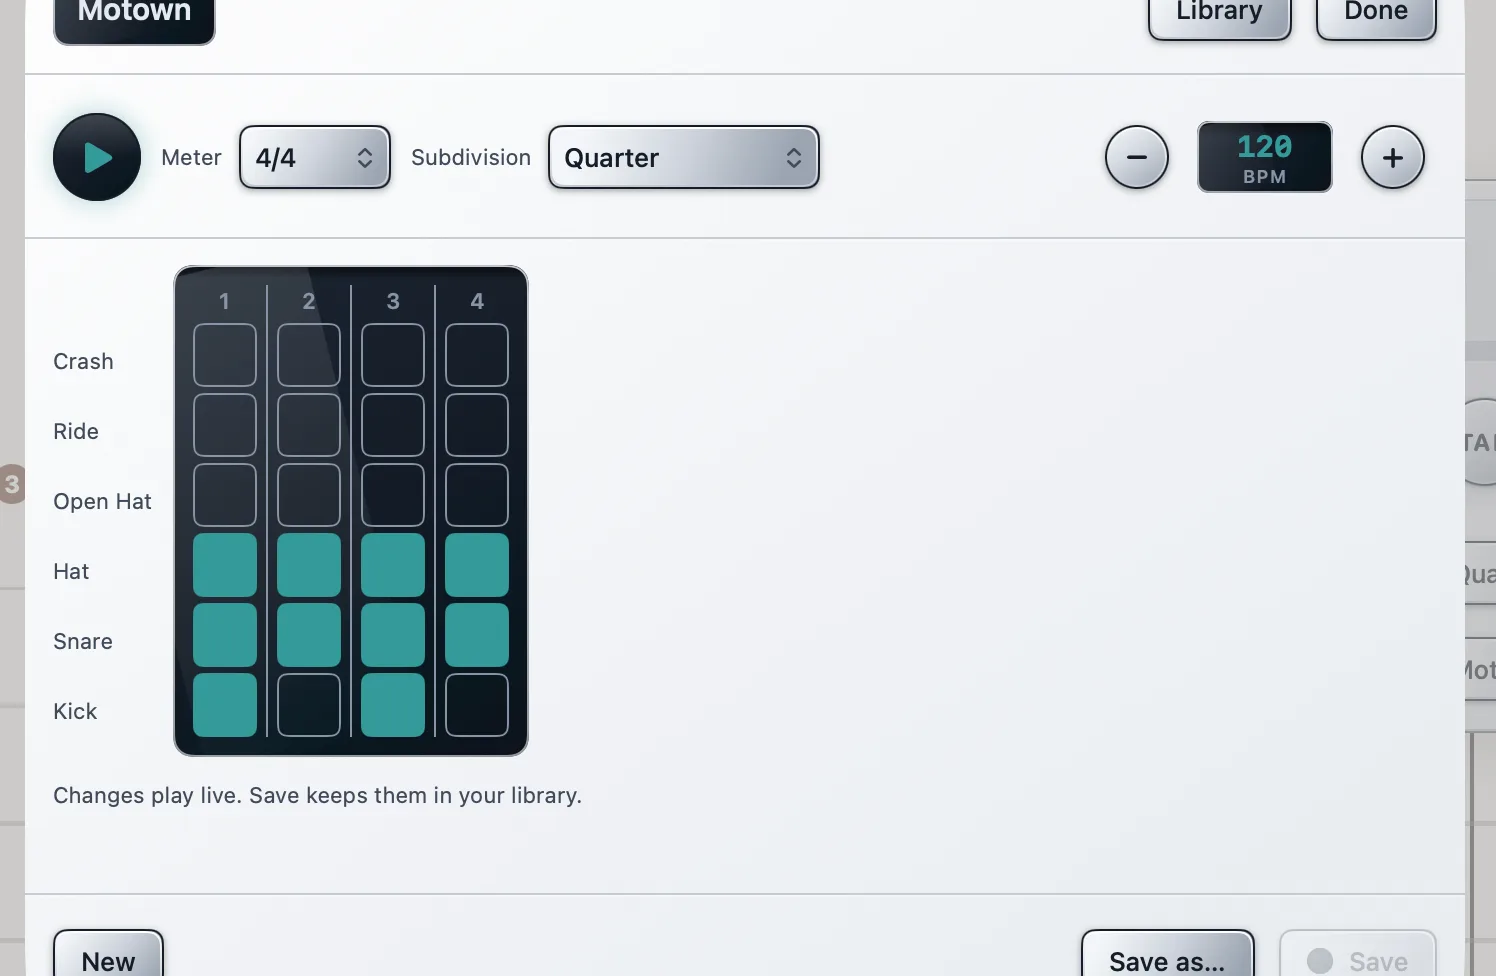
With the Drums sound pack selected, the metronome plays a step-sequenced pattern across six lanes — Crash, Ride, Open Hat, Hat, Snare, and Kick — instead of a bare click. The kit is a recorded acoustic drum kit, and every hit rings for its natural length: a kick keeps sounding under the hats that follow it, and an open hat rings until the closed hat shuts it, as on a real kit. Every meter ships with a library of musical beats rather than a mechanical one — hats on the beat hit harder than the hats between — so 6/8 feels like 6/8 without you editing anything.
Open the pattern editor from the metronome to build your own:
- The grid — one row per lane, one column per step. Each cell shows how hard that hit lands: the fill rises from the bottom of the cell to its level, full at the top. The grid scrolls sideways when a meter needs more steps than fit.
- Set a level — tap an empty cell to arm it at full; double-tap a cell to clear it. Drag up or down on a cell to raise or lower its level — the value shows in a readout above your finger and in the header — or drag across the row to paint that cell's level onto every cell you cross. On the Mac, right-click a cell for Full, 75, 50, 25, or Off.
- Play while you edit — the pattern loops as you work, so you hear each change immediately.
- Meter and Subdivision — change either from the editor's transport row, next to the tempo, and the grid regroups to match. Each combination keeps its own active pattern, so switching loads that one; unsaved edits ask to be saved or discarded first.
- Rows at once — right-click (or long-press) a lane's name for Fill Row, Accent Beats, or Clear Row. Accent Beats keeps the row's hits and re-levels them the way the defaults are built: full on the beat, lighter in between.
- Library — every meter and subdivision ships with beats you can load, 61 in all, in four sections. A beat appears only at the subdivisions that can hold it: a sixteenth-note funk beat lives at Sixteenth, a shuffle at Triplet. Genre and classic rows show a typical tempo; loading a classic sets the metronome to it, loading a genre leaves your tempo alone. There is a Your Patterns section too, for the ones you save. Save under a name, mark one as active, duplicate one as a starting point, rename, or delete; the sheet also carries New, Save as… and Reset. Edited-but-unsaved patterns are badged Edited, and closing with unsaved work asks before discarding it. The space bar runs the click from inside the sheet, so you can hear the tempo while you edit.
- Reset — restores the default steps and levels for the current meter.
| Section | Beats | What is in it |
|---|---|---|
| Basics | 12 | The plain grooves — Basic, Rock, Hats only, Light, Shuffle — and the odd meters' groupings: 3+2 and 2+3 in 5/4, 2+2+3, 3+2+2 and 2+3+2 in 7/8, 2+2+2+3 in 9/8. |
| Grooves | 8 | Building blocks rather than styles: On the Floor, Pulse, Half-time, Double-time, Syncopated, Ride, Crash on 1, Dotted. |
| Genres | 31 | From Disco, House, Funk, Boom Bap and Trap through One Drop, Ska, Motown, Bossa Nova, Reggaeton, Swing and D-beat to Samba in 2/4, Jazz Waltz in 3/4, Slow Blues and Bembé in 12/8, and Aksak and Ruchenitsa in the odd meters. |
| Classics | 10 | Famous feels, named by feel rather than by the record: Stomp Clap, Heavy Rock, Breakbeat, Snare on 4, Half Shuffle, Hard Rock, Grunge, Garage Rock, Gallop, Funk Rock. |
From the metronome panel itself, changing the meter or the subdivision loads that combination's active pattern straight away — the editor is the place that asks first.
Guitar amp Pro
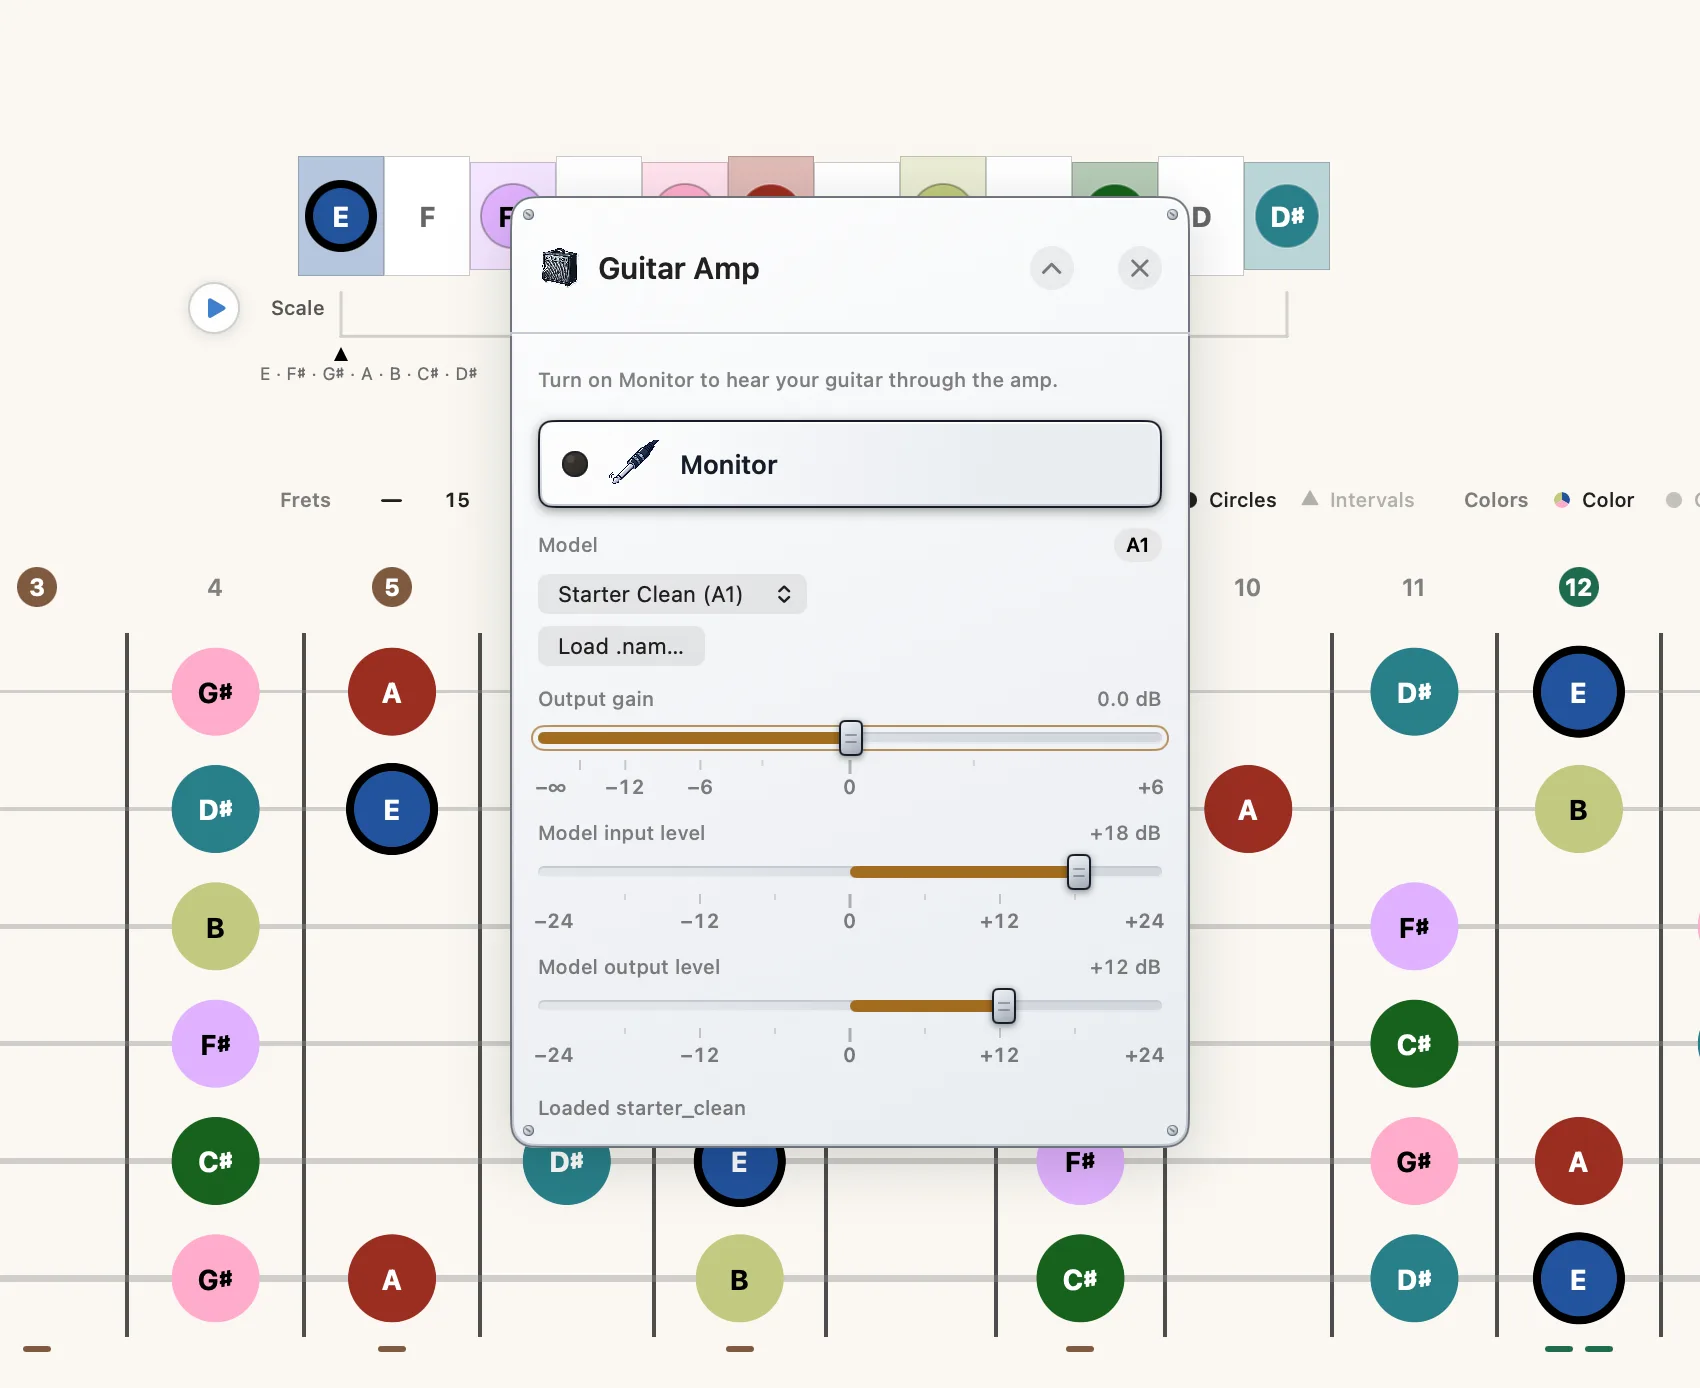
Plug a guitar into an audio interface and monitor it through a Neural Amp Modeler profile — the amp captures shared as .nam files. Fretling ships with a set of starter models and loads any other .nam file you point it at.
The panel holds amp matters only. Anything about the input — which interface, which channel, how much gain, buffer size and sample rate — lives in the input console in the top bar, because the tuner and Live Detect listen through the same input and none of it needs a model loaded.
- Model — pick a starter profile — Starter Clean (A1), Starter Clean (A2), Starter Acoustic, Starter Warm or Starter Crunch — or Load .nam… to use your own. A badge names the generation of the loaded model, and if a file uses a newer NAM format than Fretling fully supports, or carries built-in controls Fretling cannot set yet, the panel says so instead of sounding wrong in silence.
- Monitor / Stop — starts and stops live monitoring. Stopping genuinely releases the microphone; a loop that is playing keeps playing.
- Output gain — level out of the amp path.
- Model input level and Model output level — trim around the model itself, which is how you match a profile that was captured hot or quiet.
- Model size — appears for a model that carries several sizes of the same network, from Light up to Full. Smaller sizes cost less CPU and keep less detail; Full is the model as captured, and it is what loads by default.
A .nam file you load is copied into Fretling's own storage, so the model is still there after a relaunch even if you have since moved or deleted the file you loaded it from.
Input
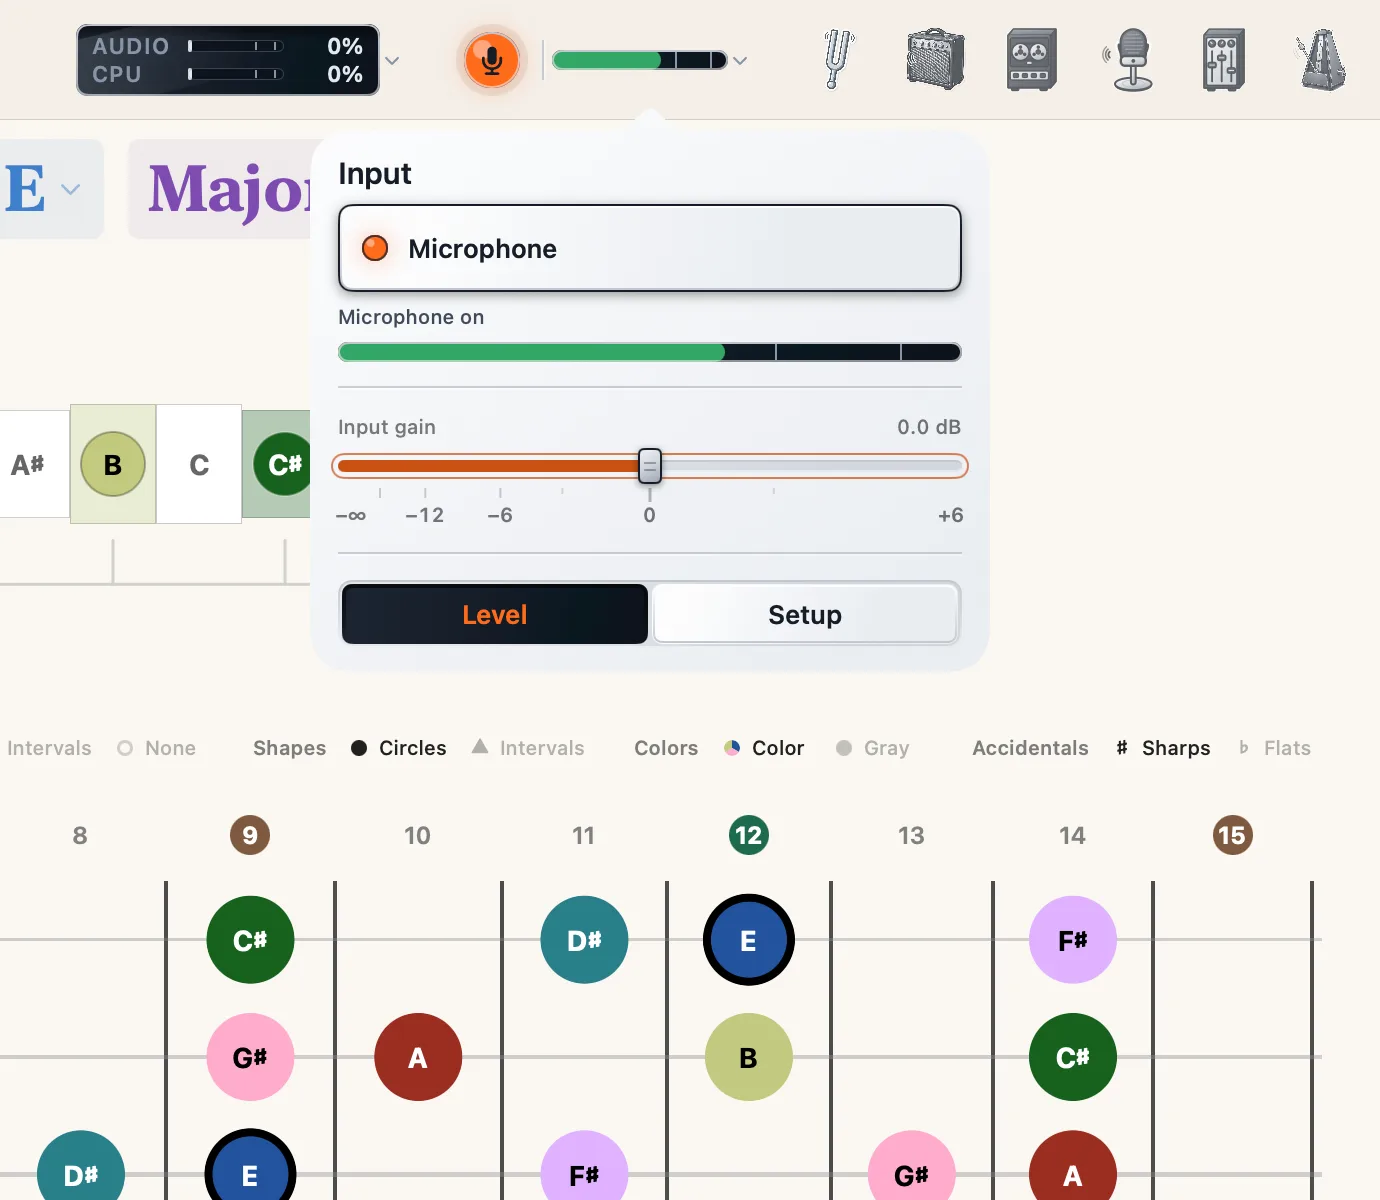
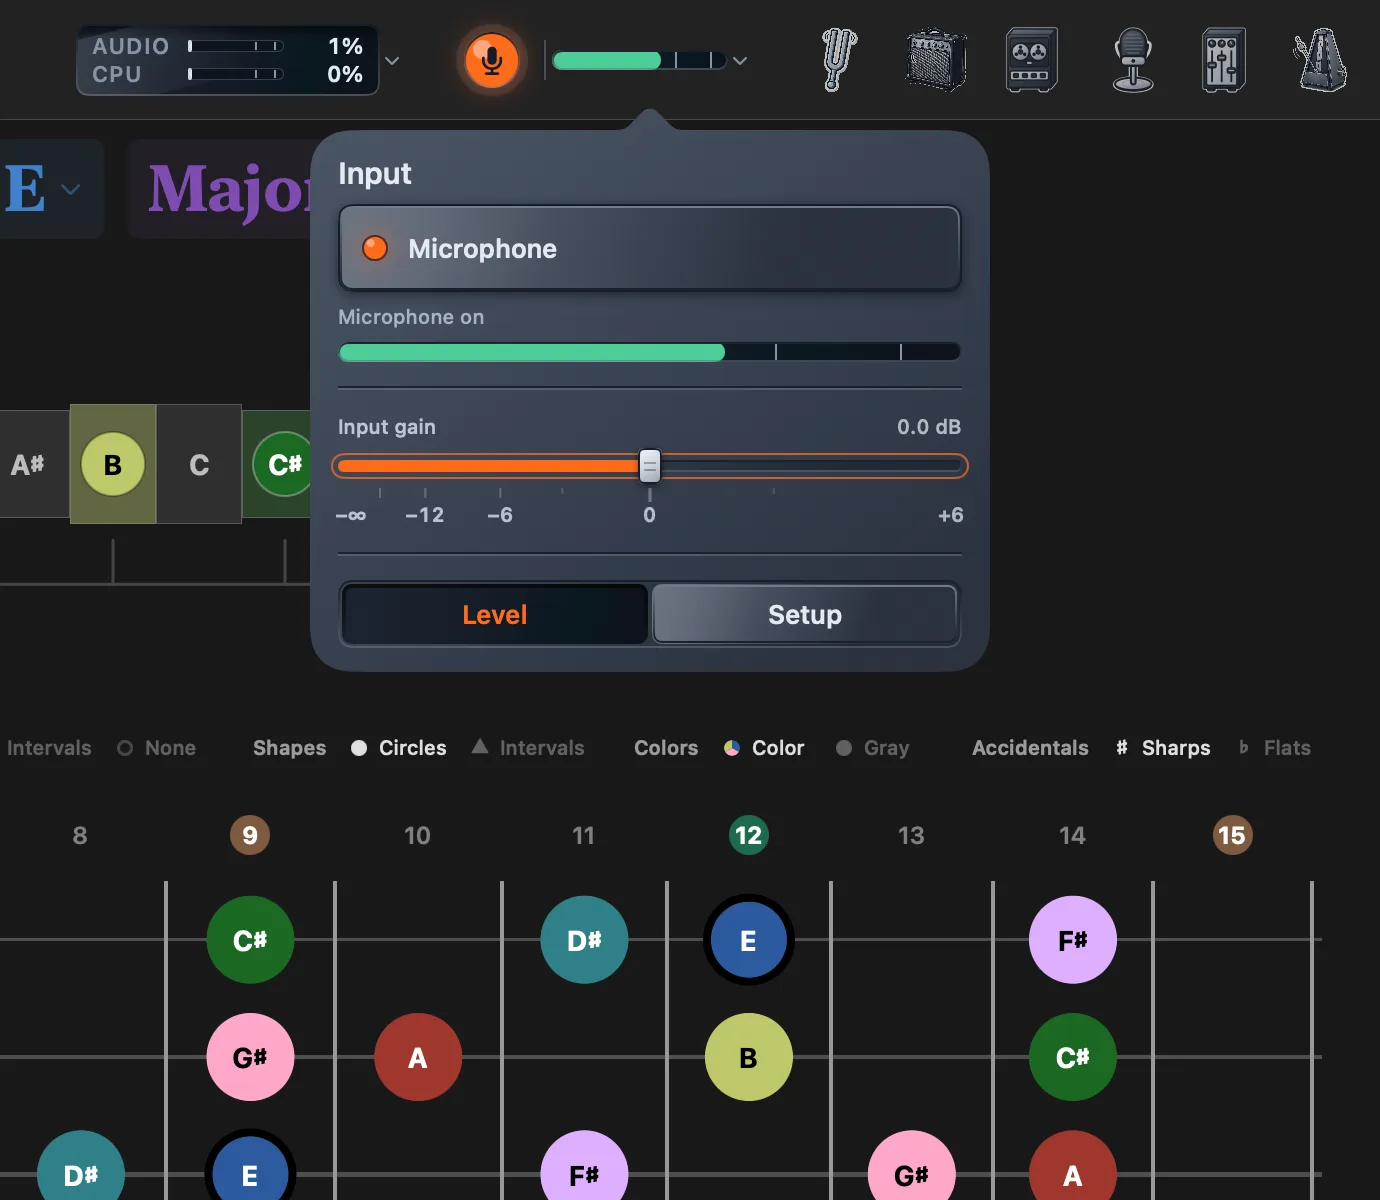
Choosing an interface is not an amp question, so it does not live in the amp. The top bar carries a microphone lamp and a level meter: the lamp is the master switch, and the meter shows what is arriving before you open any tool at all. Press the meter to open the console, which is where every input setting lives — for the amp, the tuner and Live Detect alike.
The lamp lights whenever the microphone is genuinely open somewhere — whether you opened it yourself or the tuner, Live Detect or the amp's Monitor did. Pressing a lit lamp is always the release: it lets go everywhere at once, and every tool listening through it stops. A loop that is already playing keeps playing. On both platforms the same switch sits in the Input menu as Turn Microphone On / Off, on ⌘⇧M.
If the system refuses the microphone, the lamp shows a struck-through mic with a red rim and the console opens by itself with the reason named and Open Sound settings — Open Settings on iPad — in reach.
The console opens on Level, which is what you need mid-session, and keeps routing and timing behind Setup.
- Microphone — the same master switch as the lamp. Under it a status line says what is happening, and when something else is holding the input it names what: In use by Amp · Tuner · Live Detect, so turning it off is never a surprise.
- Input gain — applied before anything listens, so the amp, the tuner and Live Detect all hear the same level.
Under Setup:
- Input device — the interface your guitar is on. On Mac an audio device; on iPad one of the inputs iPadOS offers. Either way, if a saved one is gone the picker says so rather than failing silently.
- Channel — which of that interface's inputs your guitar is plugged into. It appears whenever the input has more than one, and says so plainly when there is nothing yet to choose between.
- Route (iPad) — what the input and output actually resolved to. iPadOS still picks the output for you: plug in headphones or an interface and it switches automatically. The console warns here when the route would feed back.
- Buffer size — the latency trade: 16 to 1024 frames on the Mac, 64 to 1024 on iPad, and 128 is the recommendation. iPadOS never grants anything under 64, so offering 16 or 32 there would be a control that silently does nothing.
- Sample rate — System (leave the device as it is), 44.1, 48 and 96 kHz. 48 kHz is the recommendation and the row says so: NAM models are trained at 48 kHz, so nothing on the amp path is resampled, and it is the rate the tuner's coarse stage is tuned on. 88.2 and 192 kHz are deliberately not offered here — they buy nothing on the amp path and multiply the network's work — though the processing chain handles them if the device is set that way elsewhere. On iPad both of these are requests rather than settings: iPadOS answers them when the input starts, so a line under the pickers reports what it actually granted.
- Latency — the resulting monitoring latency, reported in milliseconds so the trade is a number rather than a guess.
Every slider has tick marks, a dB readout, and a double-click reset back to its default.
Performance
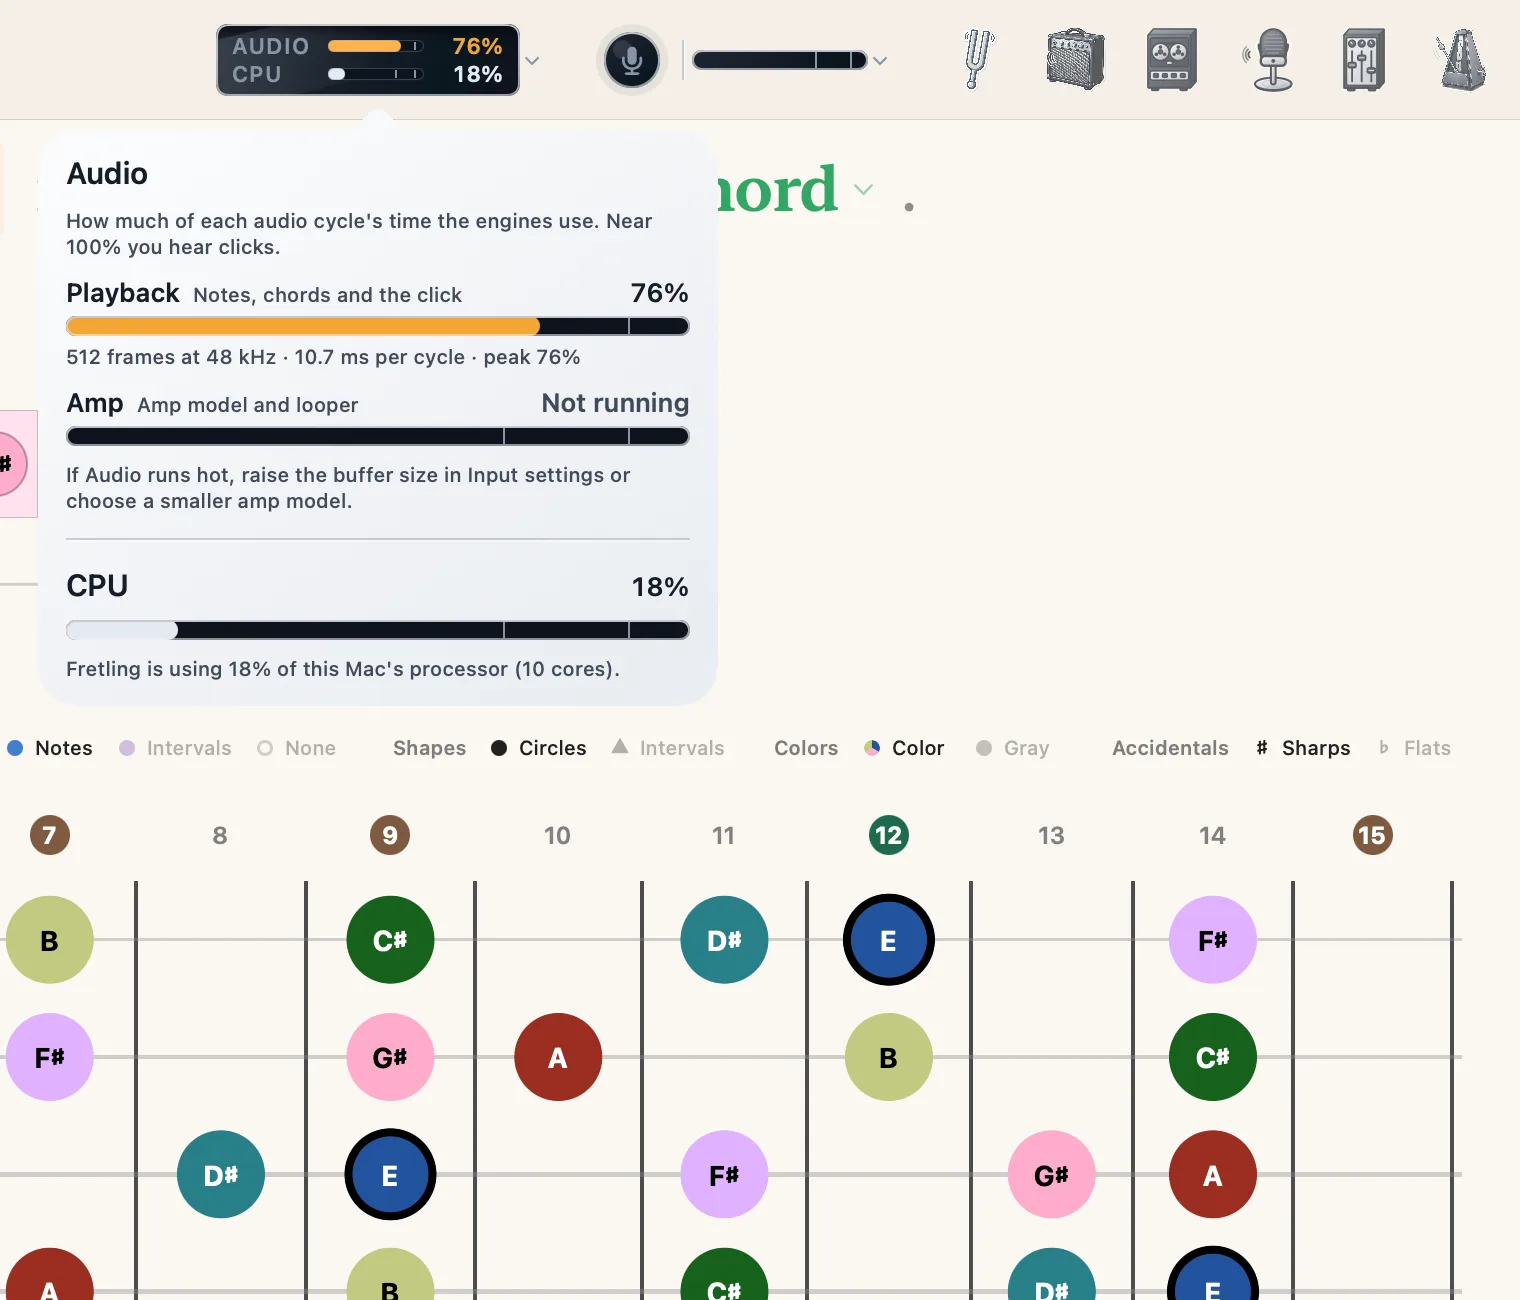
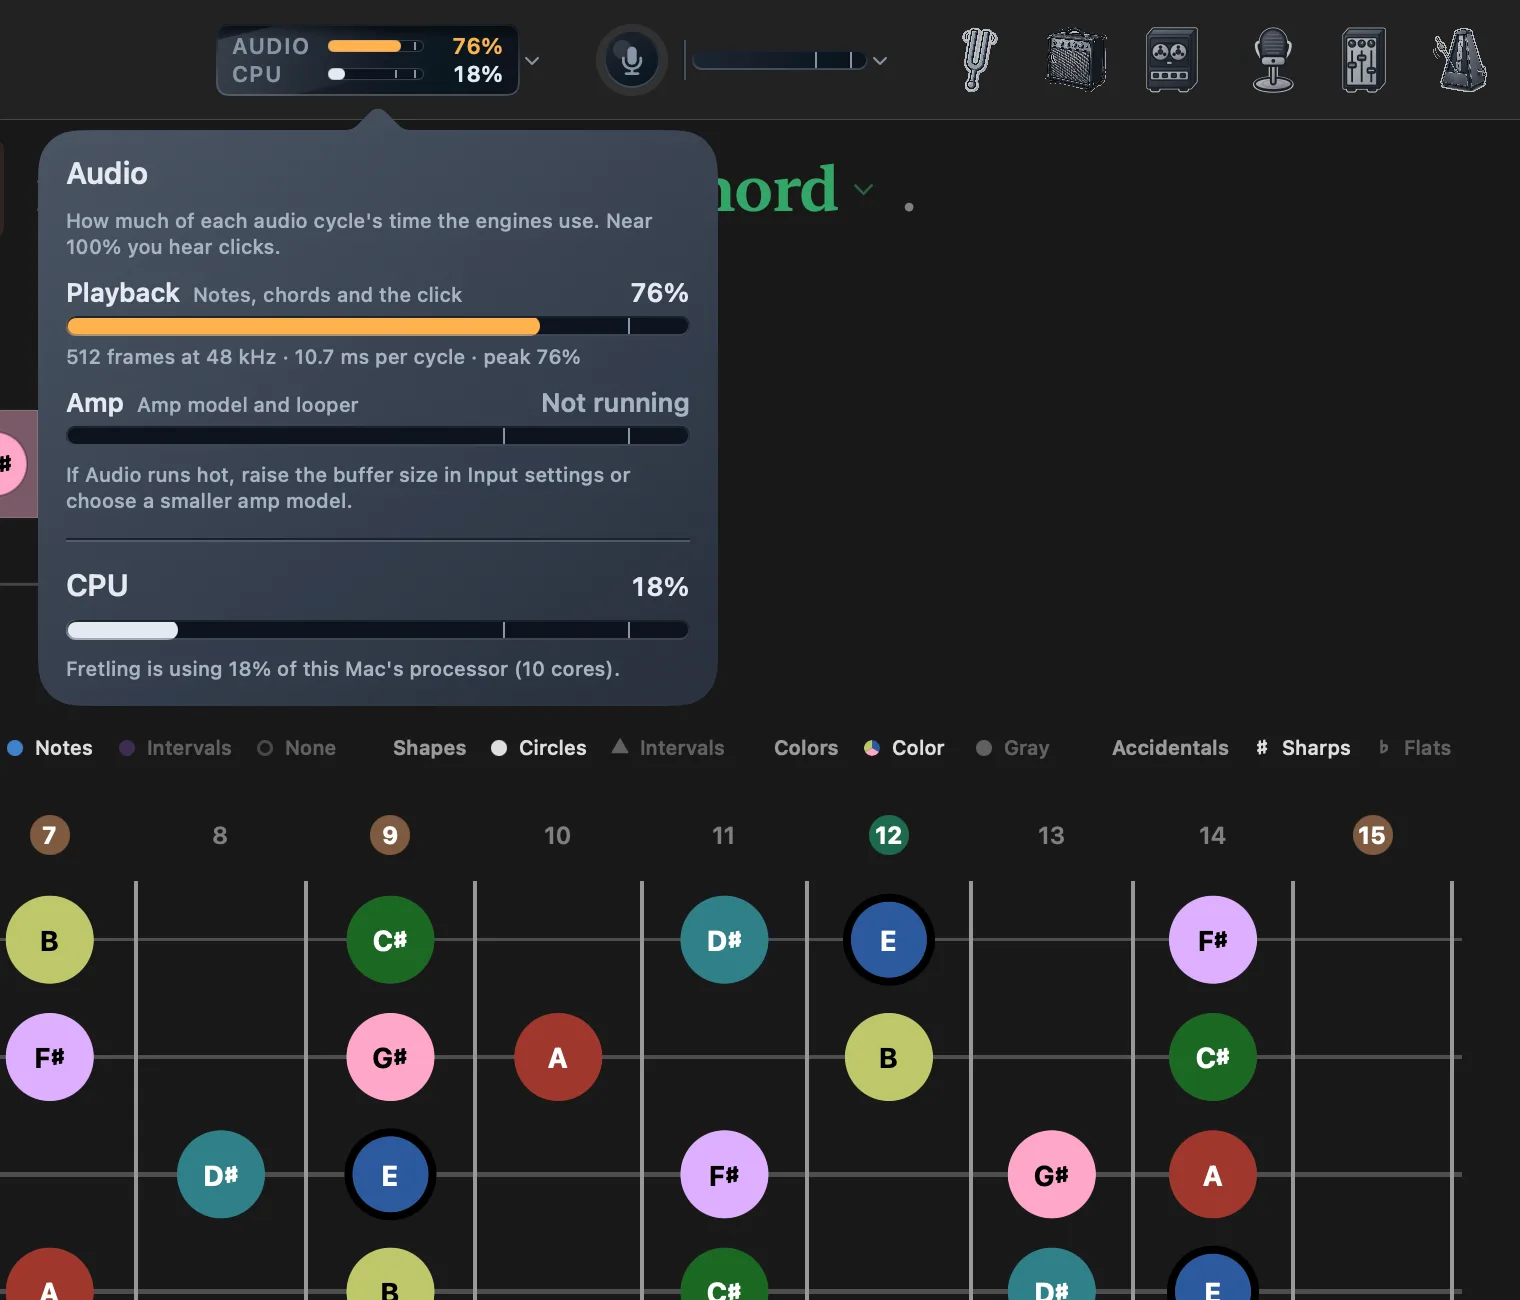
Fretling does a lot at once — an amp model, a looper, the tuner and Live Detect listening, the click — so the top bar shows how hard it is working, in a small readout to the left of the microphone lamp. Two rows:
- Audio — how much of each audio cycle's time the audio engines are using. This is the number that predicts trouble: as it nears 100% the engine runs out of time to fill the next buffer, and you hear clicks or dropouts. The bar turns amber above 70% and red above 90%.
- CPU — Fretling's share of your whole Mac or iPad, the number behind fans and battery.
Press the readout to open the Performance console. It shows the two audio engines separately — Playback carries notes, chords and the click; Amp carries the amp model and the looper, and reads Not running while the amp is down — each with the buffer it is measured against (frames, sample rate, and the milliseconds a cycle has) and a count of overloads: cycles that ran past their deadline since that engine started. Below a seam, the CPU share, and a warning when the machine itself is running hot and may be slowing things down.
If Audio runs hot, raise the buffer size in Input settings or choose a smaller amp model. A bigger buffer gives every cycle more time; a smaller model needs less of it.
Looper Pro
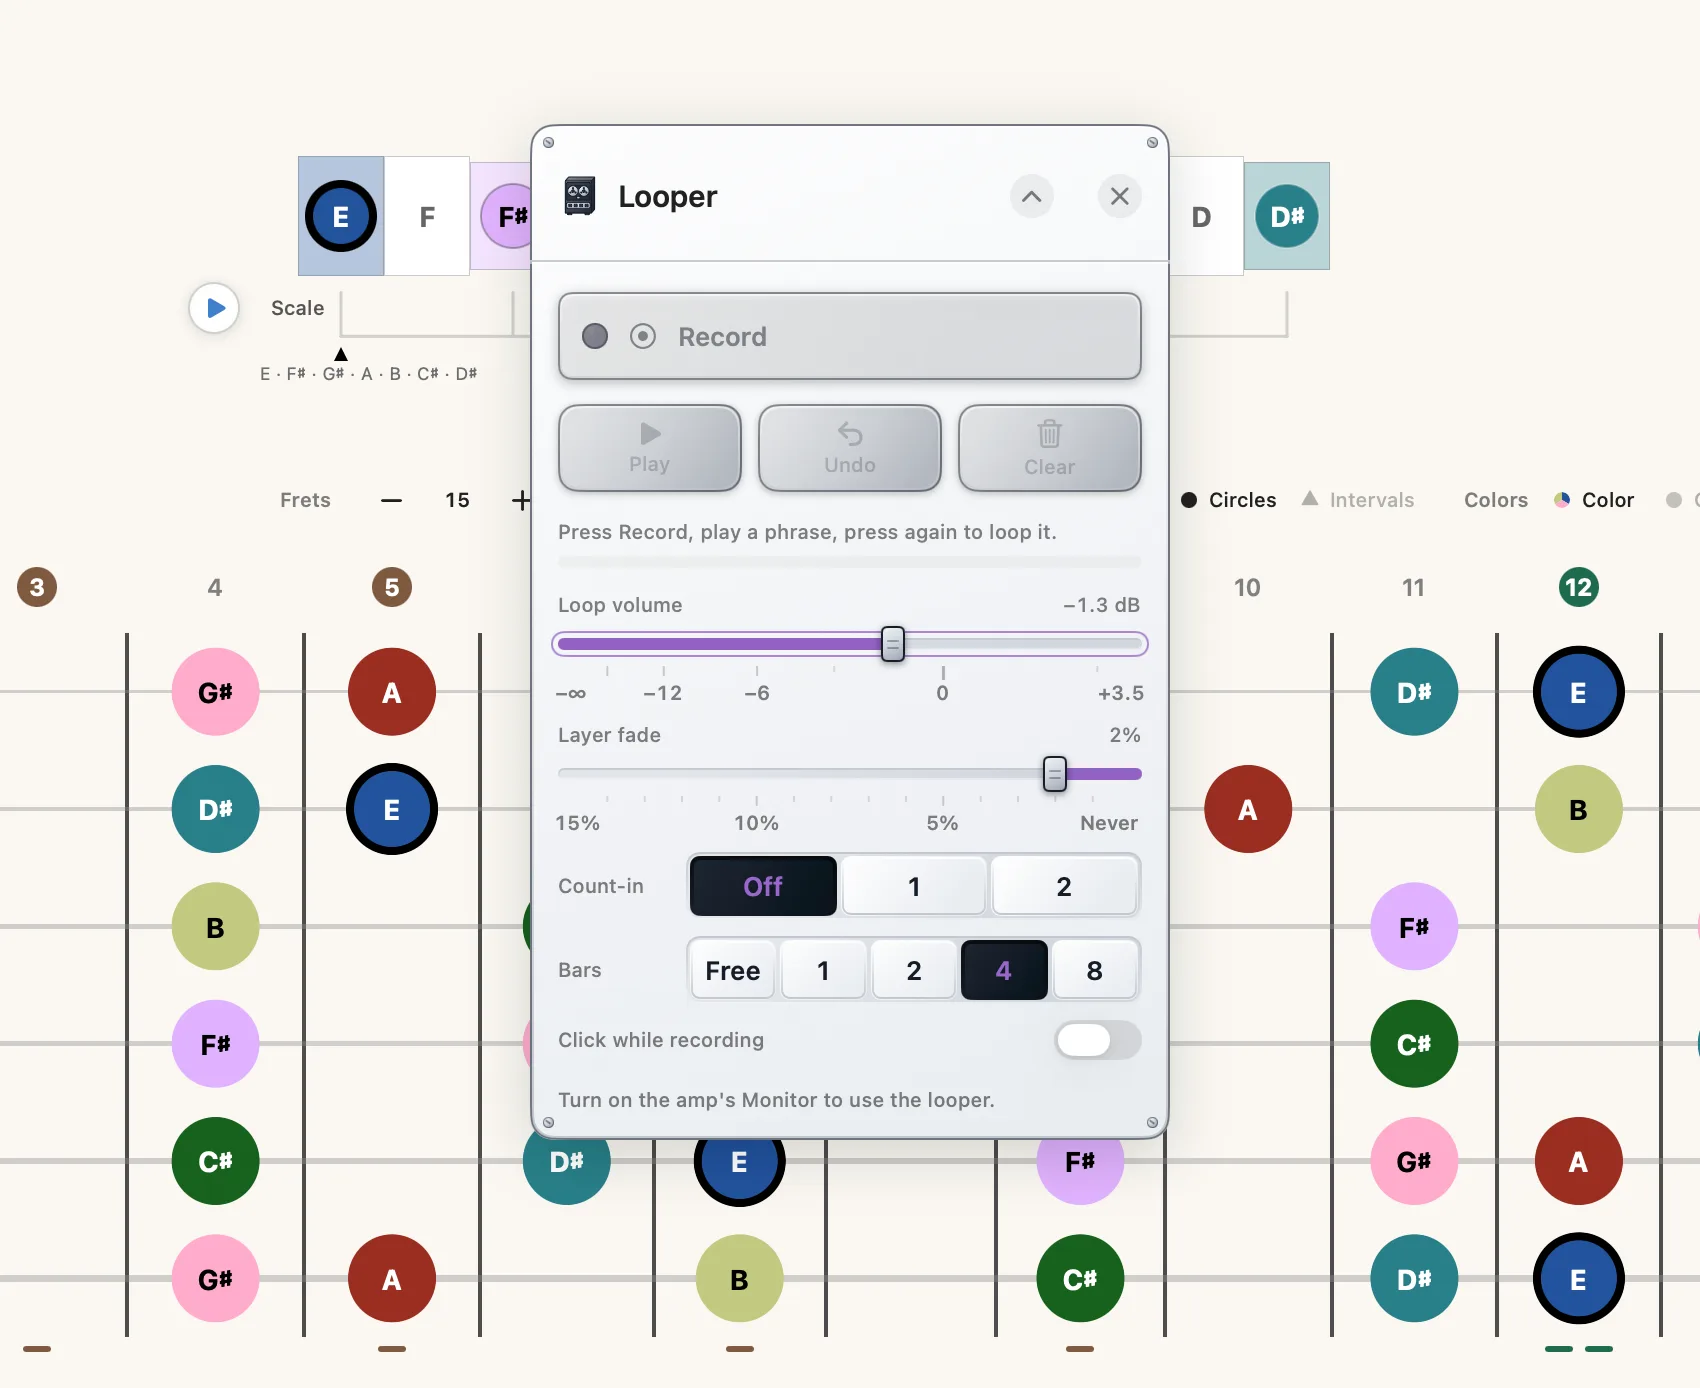
Record a phrase and play over it. The looper sits on the amp's monitoring path, so turn Monitor on in the amp first — the looper says as much if you have not. Once a loop exists it keeps playing on its own: turning Monitor off releases the microphone but leaves the loop running, and Play brings it back even with the amp down.
One big button drives the take, and its label always says what it will do next:
- Record — starts the take, after the count-in if you set one; while the count runs, the same button reads Cancel. Press it again, now reading Set Loop, to close the loop and start it playing. With Bars set it closes itself on the bar line instead, and a free-length take closes at 60 seconds if you have not closed it yourself.
- Overdub — while the loop plays, press again to record a new layer on top of it; End Overdub keeps the layer. Stack as many as you like.
- Undo / Redo — takes back the last overdub layer, or puts it back.
- Play / Stop — stops the loop, and starts it again on the bar line. With the loop stopped, the big button reads Record New: press it and a fresh take replaces the old loop.
- Clear — throws the loop away.
Under the transport:
- Bars — Free, 1, 2, 4 or 8. With a length set, recording stops itself on the bar line, so the loop is in time without you catching it by hand; Free leaves the close to you.
- Count-in — Off, 1 or 2 bars of clicks before recording starts.
- Click while recording — keeps the metronome audible through the take. It applies to the first take, and is silent when the click is already running, because then it has nothing left to start.
- Loop volume — how loud the loop plays back under you.
- Layer fade — how much earlier layers fade back as you stack new ones on top. The top of the ruler reads Never rather than a number, because what it means there is that nothing fades at all.
The record button doubles as the beat readout: the count-in counts down to the punch, then the beat counts up the bar, and a status line under the controls names the state — recording, playing, overdubbing — with the bar and the time. Changing the sample rate clears the loop — the recording no longer matches the engine — and the looper tells you when that has happened.
Loops live in memory for the session only. Nothing is written to disk, and quitting the app discards them.
Mixer
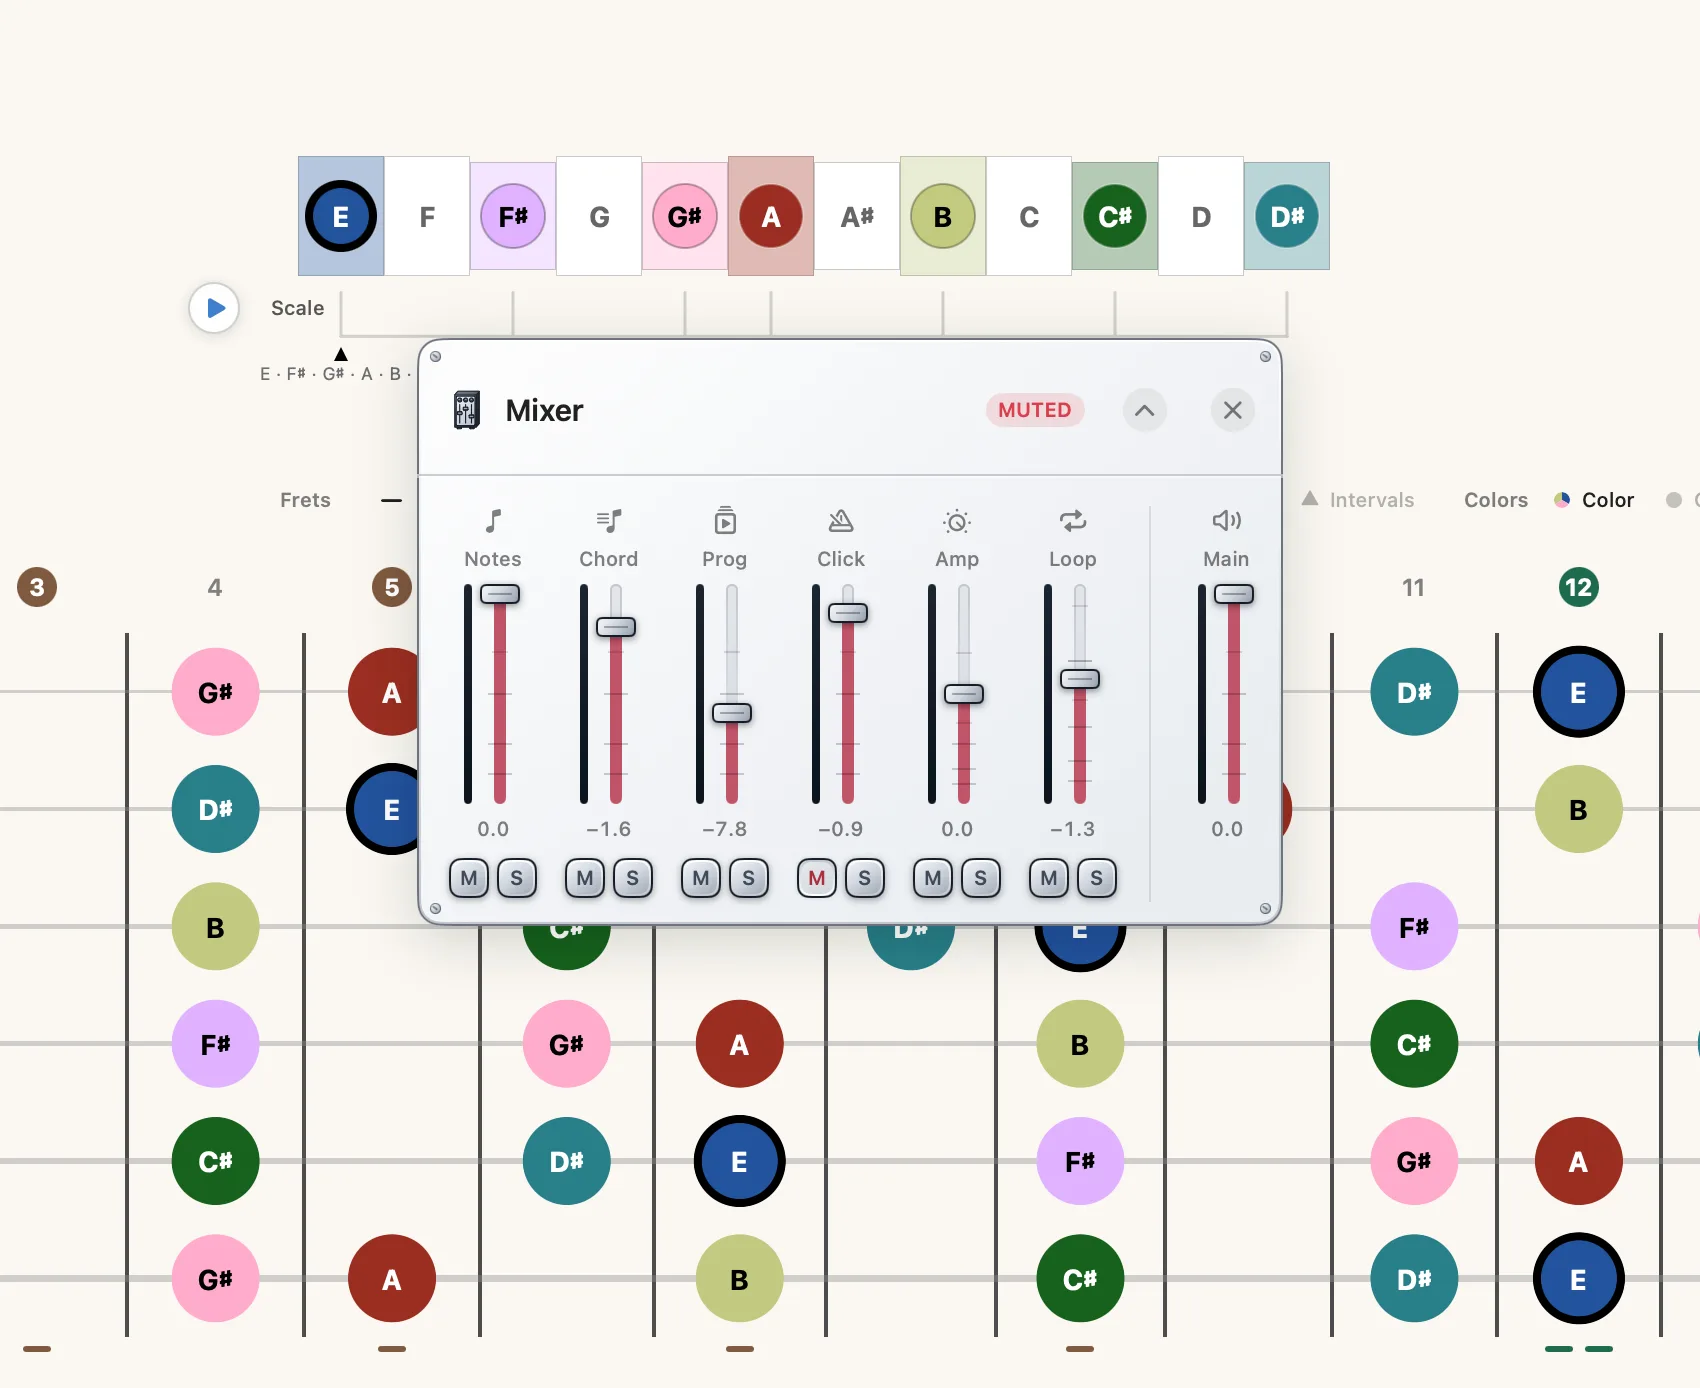
One panel for every sound Fretling makes, so you can balance them instead of hunting for the level that is too loud.
| Strip | Controls |
|---|---|
| Notes | Notes you tap on the neck, and scale playback. |
| Chord | Chords played from the timeline and the Chord Atlas. |
| Prog | Reserved for progression playback, which is not part of this release. The strip is there, and it has nothing to control yet. |
| Click | Metronome and drums. |
| Amp | Your monitored guitar. |
| Loop | Looper playback. |
| Main | Master output. |
Every strip except Main has mute and solo; a badge on the panel reminds you when something is muted or soloed, so a silent app is never a mystery. Mute outranks solo: a channel you muted stays silent even when you solo it, so a solo can never un-mute something behind your back. Main is a plain output fader and is exempt from both.
Most strips run from 0 to 1 and start at full. Amp runs to 2 and starts at 0.8, matching the amp panel’s own Output slider; Loop runs to 1.5 and starts at 0.9, matching the looper’s Loop volume; Click starts at 0.8. Levels persist between sessions. A solo does not: relaunching into a soloed, mostly silent app would be a puzzle rather than a setting.
Live Detect Pro
Live Detect listens to what you play and marks it on the neck in real time, so you can check that what you are fingering is what you think it is.
The panel is a listening well with one control under it: Listen, which becomes Stop while it is running. Above it, a status line says what is happening before you have played anything — Tap Listen to detect what you play. Once notes arrive, the readout names them: a single pitch as a note, several at once as the chord they spell, and both are spelled the way Accidentals is set, so a reading here matches the neck rather than arguing with it.
On the neck, what Live Detect hears is ringed rather than filled. The rings are deliberately a different mark from the highlight a played-back note wears, because the two answer different questions — this is what you are playing against this is what Fretling is playing — and they can be on screen at the same time.
Folded to a strip, Live Detect keeps its readout: the strip is a live display of what it is hearing, so you can leave it running along the edge of the screen and glance at it while you play.
In identify mode it gains a Send to fretboard button, which takes the notes it just heard and places them on the neck as an identification query — play a chord you cannot name, send it over, and read the ranked answers. That button exists only in identify; in the learn modes the panel reads out, and the neck is the learn subject’s.
Without Pro, the panel still opens. It says what it is — Live Detect is part of Fretling Pro. and Play into the mic — the notes and chords Fretling hears light up on the fretboard. — and carries an unlock button. The microphone never opens while it is locked.
Microphone access
The tuner, Live Detect, and the amp all need audio input, so the first time you open one — or turn the microphone on from the top bar — your device asks permission. The prompt it shows is Fretling's own words, and it names what is asking: “Fretling needs microphone or audio interface access to monitor your guitar with Neural Amp Modeler and for the chromatic tuner while you practice.” Audio is analyzed live and never recorded, stored, or transmitted. Capture stops when you close the tools, and turning the input off from the top bar releases the microphone everywhere at once. Full detail is in the privacy policy.